Curvy Reclaimed Wood Headboard Tutorial
Our next Headboard Week guest has an amazing bed + headboard to share with you! Using reclaimed wood gives so much automatic character — and old fence posts never looked so good (and I would know!) Here’s Suzie… please don’t drool too much over her gorgeous bed 😉
Remember, we want to see your headboard projects, too, so link up at the end of this post or here and show off your stuff!

Reclaimed Wood Headboard Tutorial
by Suzie of The Accent Piece
This post may contains some affiliate links. Please see our full privacy policy and disclosure here.
Recently, my husband and I needed a new headboard. We changed the style of our room and our old headboard stuck out like a sore thumb. Luckily, at about the same time, some friends of ours tore up an old deck in their backyard. When they called to offer us the wood, we did a happy dance around the house, then rushed over there to snag the loot as fast as we could (all the while trying our best to keep it cool in front of them).
We came home with this beautiful pile of potential!

With this bed as our inspiration, we began piecing the wood together for the headboard.

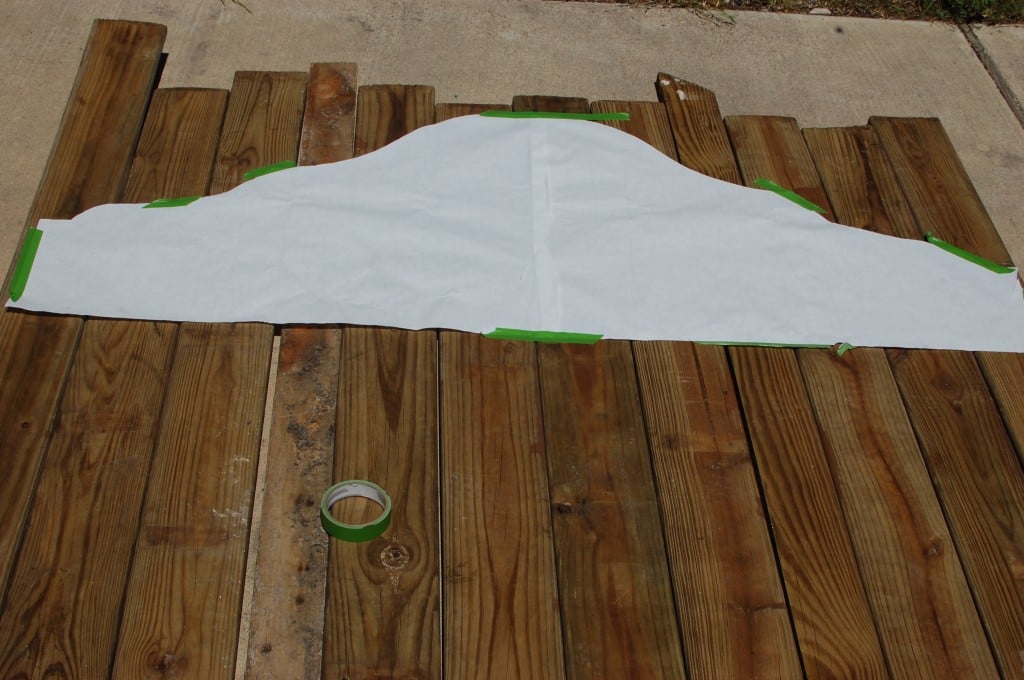
After the boards were laid out we folded a large sheet of paper in half, then drew one half of the headboard design on it.

Then we unfolded it and taped it to the boards. Using that as a template, we were able to trace the design on to the boards.
Using our jigsaw, we cut the boards one by one…

…until we were finished!

We trimmed the bottom of the boards with our miter saw to be the same height, leaving the outer two longer so that it can stand on those legs.

We used scrap pieces on the back to join the boards together.


The cutting and assembly actually went really quickly. After about two hours, the headboard was built!

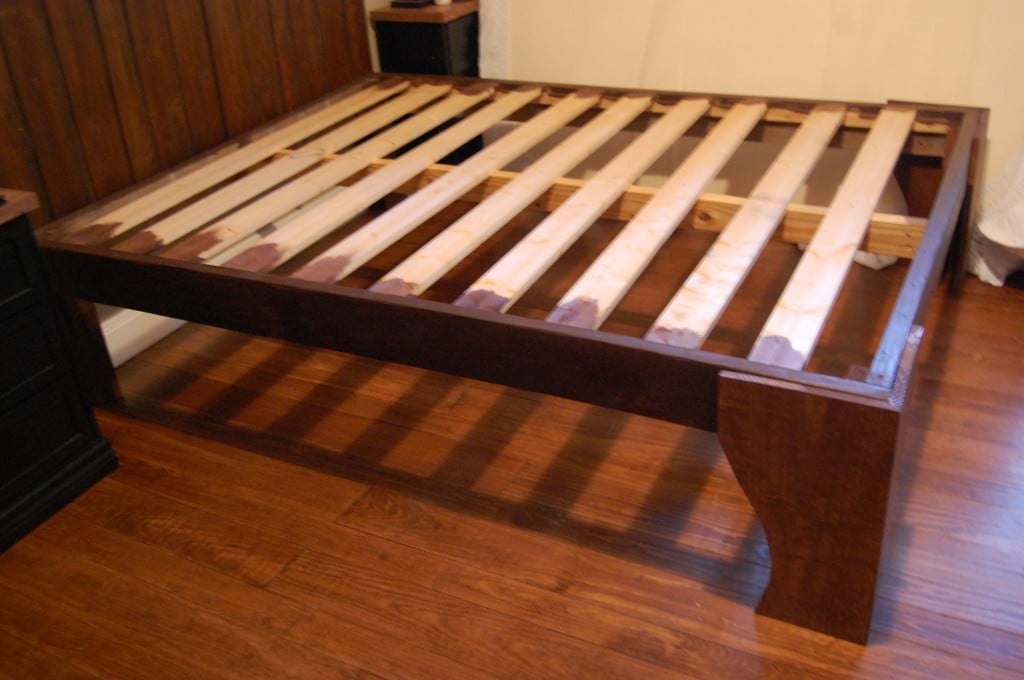
The frame was a simple box with legs. We used two 1×2’s that ran the length of the frame and was an inch from the top to support the slats. In addition, we added a 2×4 going down the middle. The slats were made of 10 1×4’s. This was the only part that we had to buy and it came out to about $25!
We didn’t bother staining the slats because they won’t be seen.

For the legs, I drew the shape I wanted on a 1×10 and mitered one edge of each piece so they fit flush on the corners.

We stained it a mixture of Minwax’s Dark Walnut and Provincial. Then, we sealed it with polyurethane in matte finish.
And…here she is!

I love love love it. And you know what else I love? That besides the $25 we had to spend on the slats….it was free! Whoop!

Like I mentioned before, this was actually a fairly simple build – it took us about 4 hours total to build it.


I love how it goes with the sliding barn door we built as well.

I’d say we’re pretty happy with it…now if we can only get Wiley to share it with us!


—————————-
Thanks so much for visiting us today, Suzie!
Visit Suzie at The Accent Piece to see more of her home, like awesome built-ins (she’s a kindred spirit!) and her son’s amazingly cute nursery!
And don’t forget to check out all the headboard week posts so far — and check back later today for another headboard tutorial!

Don’t miss a single Headboard Week post! Follow us on Facebook here or subscribe to our RSS feed here.
[inlinkz_linkup id=418236 mode=1]
Lorene has been behind the scenes here at Remodelaholic for more than a decade! She believes that planning projects and actually completing them are two different hobbies, but that doesn't stop her from planning at least a dozen projects at any given time. She spends her free time creating memories with her husband and 5 kids, traveling as far as she can afford, and partaking of books in any form available.


Love the headboard and how simple you made it seem!
I love the headboard! Thanks for sharing such great instructions.
Love this bed! It’s absolutely gorgeous!
I love this bed!! I’m going to show my husband since we are wanting to redo our bedroom. So simple, yet beautiful!! Thanks a bunch 🙂
Thank you for the great instructions, I loved what you did so much I made my own.
Beautiful
I am going to start this project this week. Could you post(or point me in the right direction) the directions of how to build the box frame? Thank you!
Hi AmaLei,
We’d love to see pictures! As far as building the box frame, Suzy included some details at the end of the post, but if you’d like more details, I recommend checking out our friend Ana White — she has lots of detailed bed building plans to help you out. https://www.ana-white.com
Thanks and good luck!
Nice! This is something i might do!
I love the design. You gave very clear instructions. I am concerned about the use of pressure treated wood inside due to the chemicals. Did you polyurethane the headboard? Is that all you need to protect your health?
The treated lumber can and likely will cause health issues being inside of the home. The arsenic used in the manufacturing alone is a real cause for concern.