His and Hers Master Closet Makeover
Submitted By Imperfectly Polished
I can’t even begin to describe how excited I am to share this room with you all. After planning, designing, and budgeting for a couple months, we spent about three weeks renovating the closet, working a few nights a week after work and a couple full weekends to complete this project. While the closet was being worked on, our house became quite the construction zone. Tools in every room of the house, clothes in piles in the laundry room and our bedroom, and what seemed like clutter and mass chaos everywhere we looked. I’m happy to say it’s done and our house is back to it’s old self. But better. With a new custom closet that we are in love with. I almost hate to show these before pictures because it was atrocious. We didn’t even realize how awful our closet situation was, but looking back at these pictures we realize this was much needed. Clothes were just piled everywhere and it was completely unorganized. I wish I could say I took these pictures on an abnormally messy day, but that would be a lie. Try not to be too hard on us…
“Mike’s side” had hanging storage above, laundry baskets and a safebelow, and piles of clothes and shoes all around.


Yes, this old dresser was part of the closet. Really, it just added to the clutter.
This was the only shelvingwe had before. We wanted something more practical for our needs.

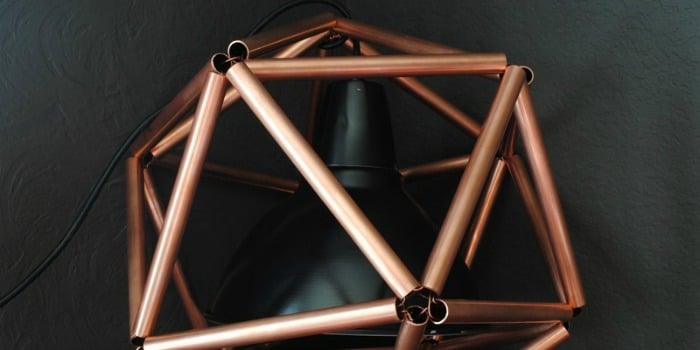
Every inch of this closet was made by us. From cutting and painting the wood for the shelves, to making the roman shade, hanging the fabric wall, making our own pendant light, building the storage boxes for our clothes and laundry baskets to match, and adding little decorative touches to make it a beautiful space to get ready for the day. I have lots of tutorials planned coming up to tell you how we overhauled this room, but today I’m going to go enjoy the closet:)
I am the husband of the amazing Cassity of Remodelaholic. I love to problem solve and to design and build things inside and outside the house to make life better. I am a professional Landscape Architect by trade and love the outdoors.


That is an absolutely peaceful & beautiful closet!
I just love the transformation. Love it! I am way impressed that you made every bit of it. My absoulte favorite were the storage boxes with twine pulls. I can’t wait for that tutorial! Thanks for sharing all of this.
I’d like to thank you for the efforts you have put in penning this blog. I’m hoping to view the same high-grade content
from you later on as well. In truth, your creative writing abilities has motivated me to
get my own, personal site now 😉
Looks amazing!! How did you attach the structures to the wall? Or are they free-standing? Thanks!
Excellent closet make-over. From experience :(, watch that window in there. It will fade your clothes.
Saw your impressive remodel you did with your stuff for your closet. HOwever, I have a huge amount of clothes, as I am a singer and don’t have the first idea what to do with them all. My son is actually a designer but his life is a pressure cooker right now and I don’t know where to go now I’m so frustrated and dumbfounded. Please help. All of the sites I’ve looked at have like 7 dresses and 5 pairs of pants. I have like 250 dresses, 400 pairs of pants and lost count on the shoes after 250.
Sincerely,
Not a remodler!