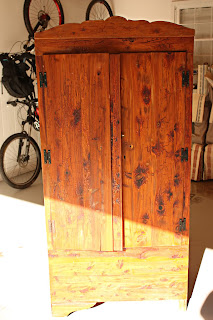
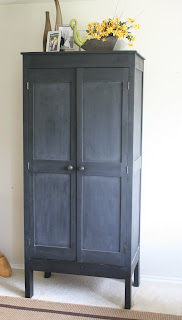
Hey it is me… the person that runs this blog… and guess what I actually have another post this week. I know it boggles the mind… Last week I explained how we transformed the outer shell of our old cedar wardrobe/armoire. Here is the before and after to refresh your memory.
When we finished with the outside, the inside was completely empty except for a clothing bar, so we had to retrofit it with shelving. We went for an easy option, that is pre-made in the shelving section at the hardware store.
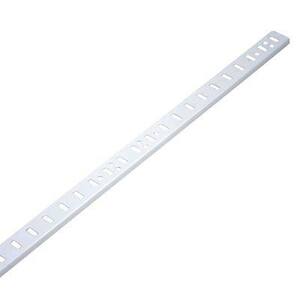
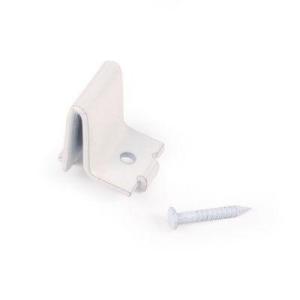
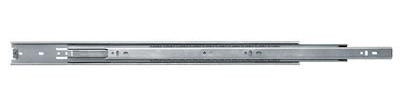
I can’t find the exact name but they are shelf support strips with horizontal slots that you use a shelf bracket with, then the shelving sits right on top of that. On the Home Depot site they are here, and they look like this (image courtesy Home Depot) technically we have metal. The shelf supports are pictured next to it.
The shelf clip allow you to adjust the shelving whenever you needed, so we chose to go with that rather than fixing the shelves in place which could also be an option. The tricky part with these systems is that you need one for every corner and they must be lined up exactly in order for the shelving to be stable so don’t rush through this installation step. Do it carefully. And when you paint don’t be as sloppy as me! (in fact I painted these in place a year after we changed it…. next time…..)
If you are good at wood working you could do something like this:
It would be more work but nicer craftsmanship!
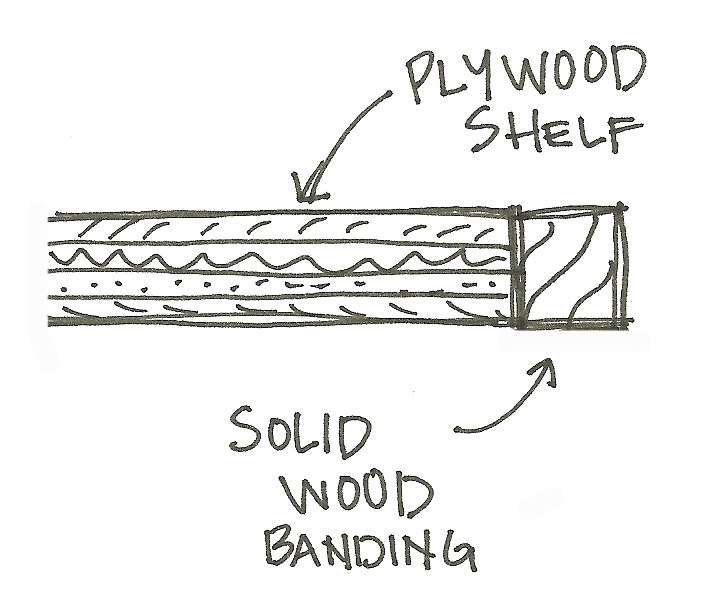
The next thing that we did was have wood cut for the shelving. At the time we used 1/2″ MDF. Today if I were to do it again, (which we might… someday) I would use plywood and attach a solid wood front to each piece. The solid wood banding or edging will help to support the center of the shelf so that it doesn’t sag as easily, it also will cover the ugly plywood layers. We would have done this band on the front and back for the best support, you could just buy a 1 x 2 and attach that with the excess hanging down in front and that would make the shelves look more substantial.
Okay, at this point, if you have the proper dimensions of the wardrobe, you can have the plywood sheet cut down to size at Lowes or Home Depot when you purchase it.
So, now you just need to:
Attach the banding with finishing nails, and a little wood glue in the joint putty the holes. Lightly sand paint or finish your shelves.
Put in your shelf supports and the little brackets and you have a very functional adjustable piece of furniture.
At first, we left off at this point and put our TV, DVD player, music player, speakers and DVD’s in here for 2 years. It was perfect, when we wanted to see the t.v. it could be opened, when we didn’t it looked like a nice piece of furniture but not a HUGE focal point.
Fast forward two years, and a move across the country.
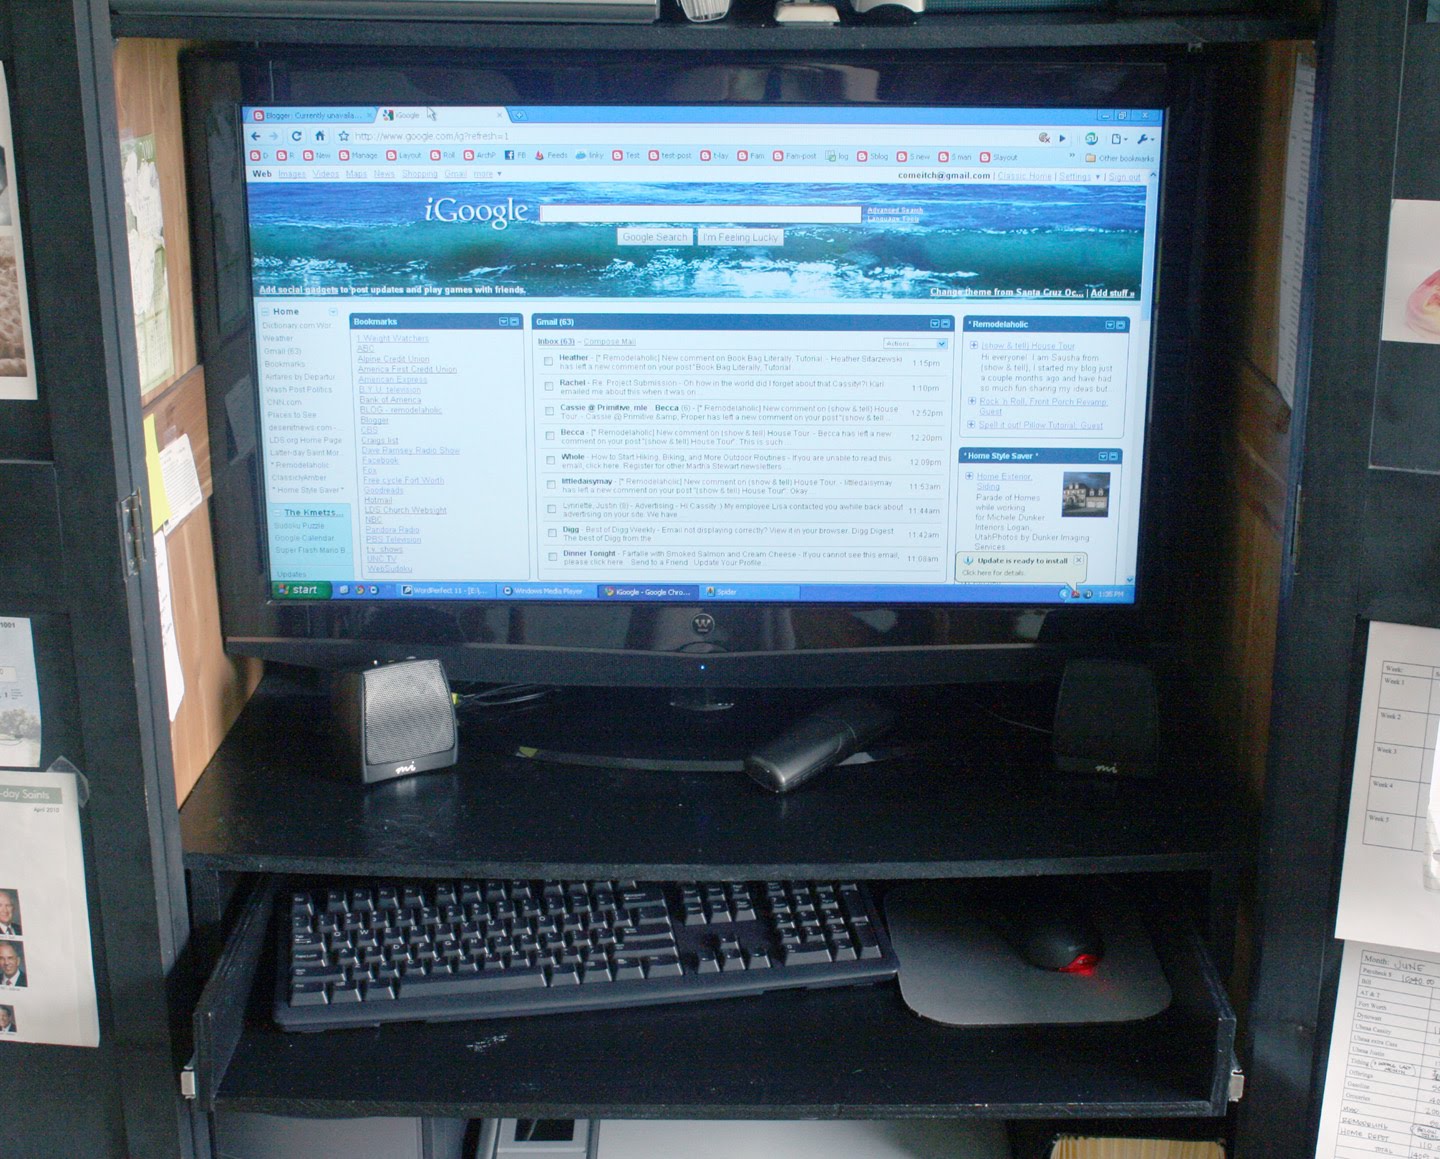
This piece is no longer needed as an entertainment center. But what could it be?… We needed a localized place to put our computer, but I hate to see the mess… so we fixed it again! We decided this time to make it into a small home office in a wardrobe. (just beyond the fur coats and by the lamp post Mr Tumnus can be your personal assistant)
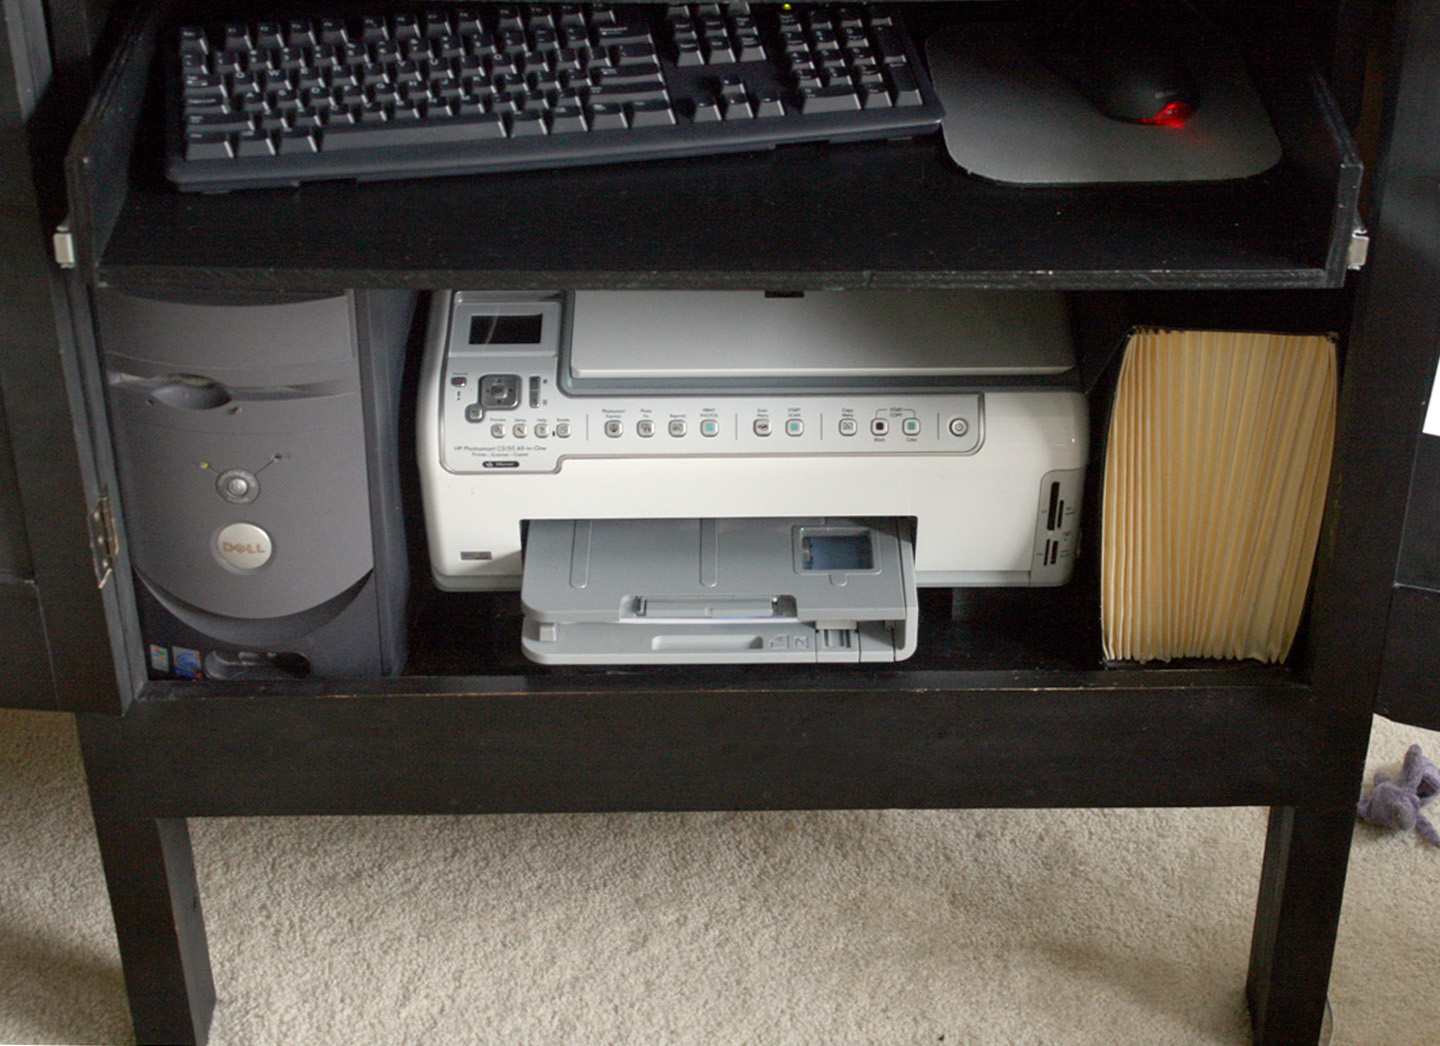
The shelves were already adjustable, so we figured out where we wanted the shelf for the monitor (whic also happens to be our TV for movies which is why it is GI-NORMOUS, and how much space we needed for the HUGE tower that is a bit archaic but luckily for our budget is still working like a champ!
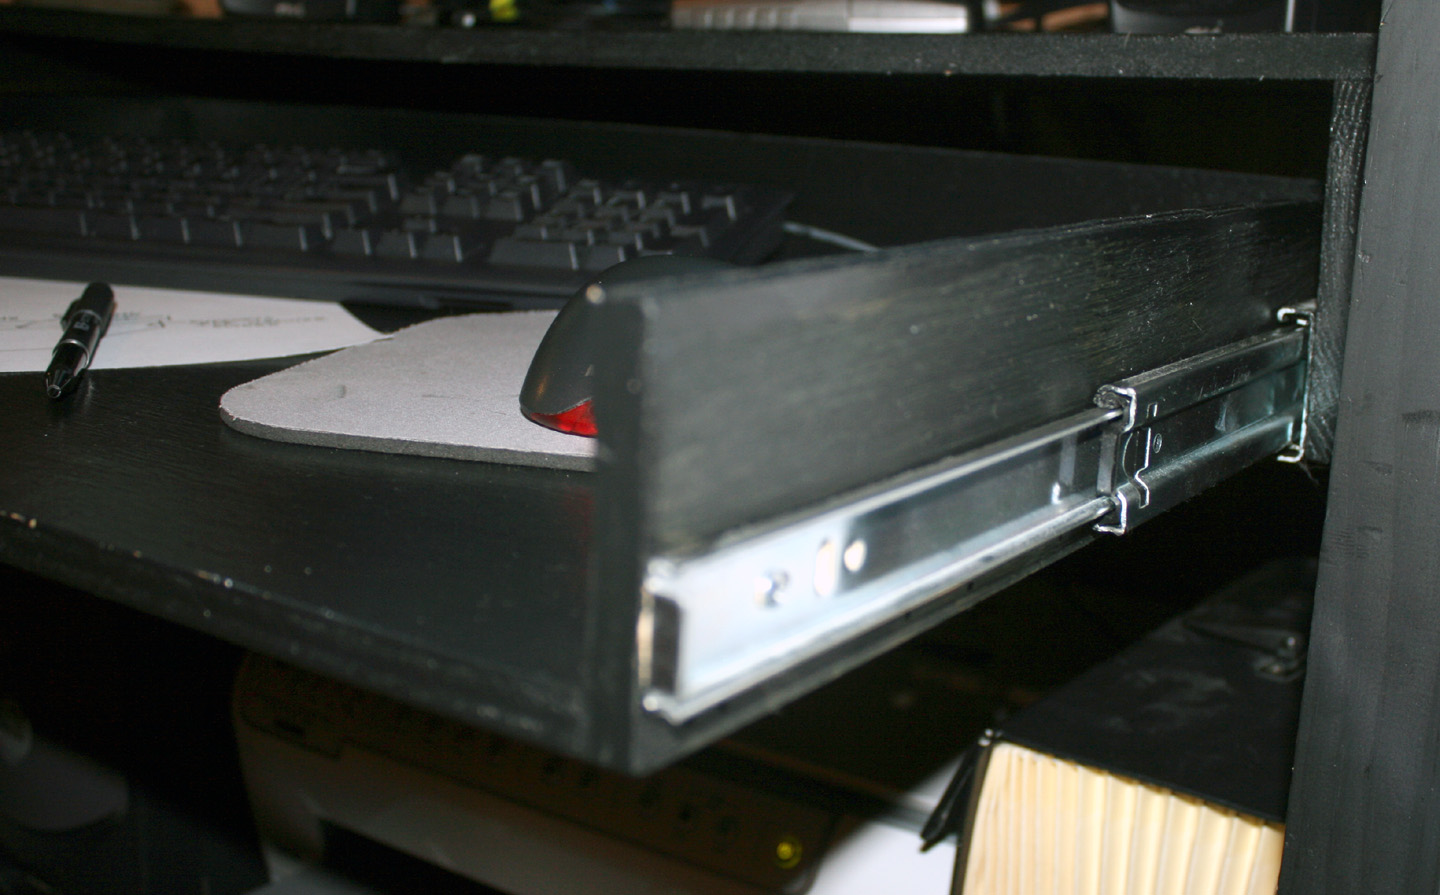
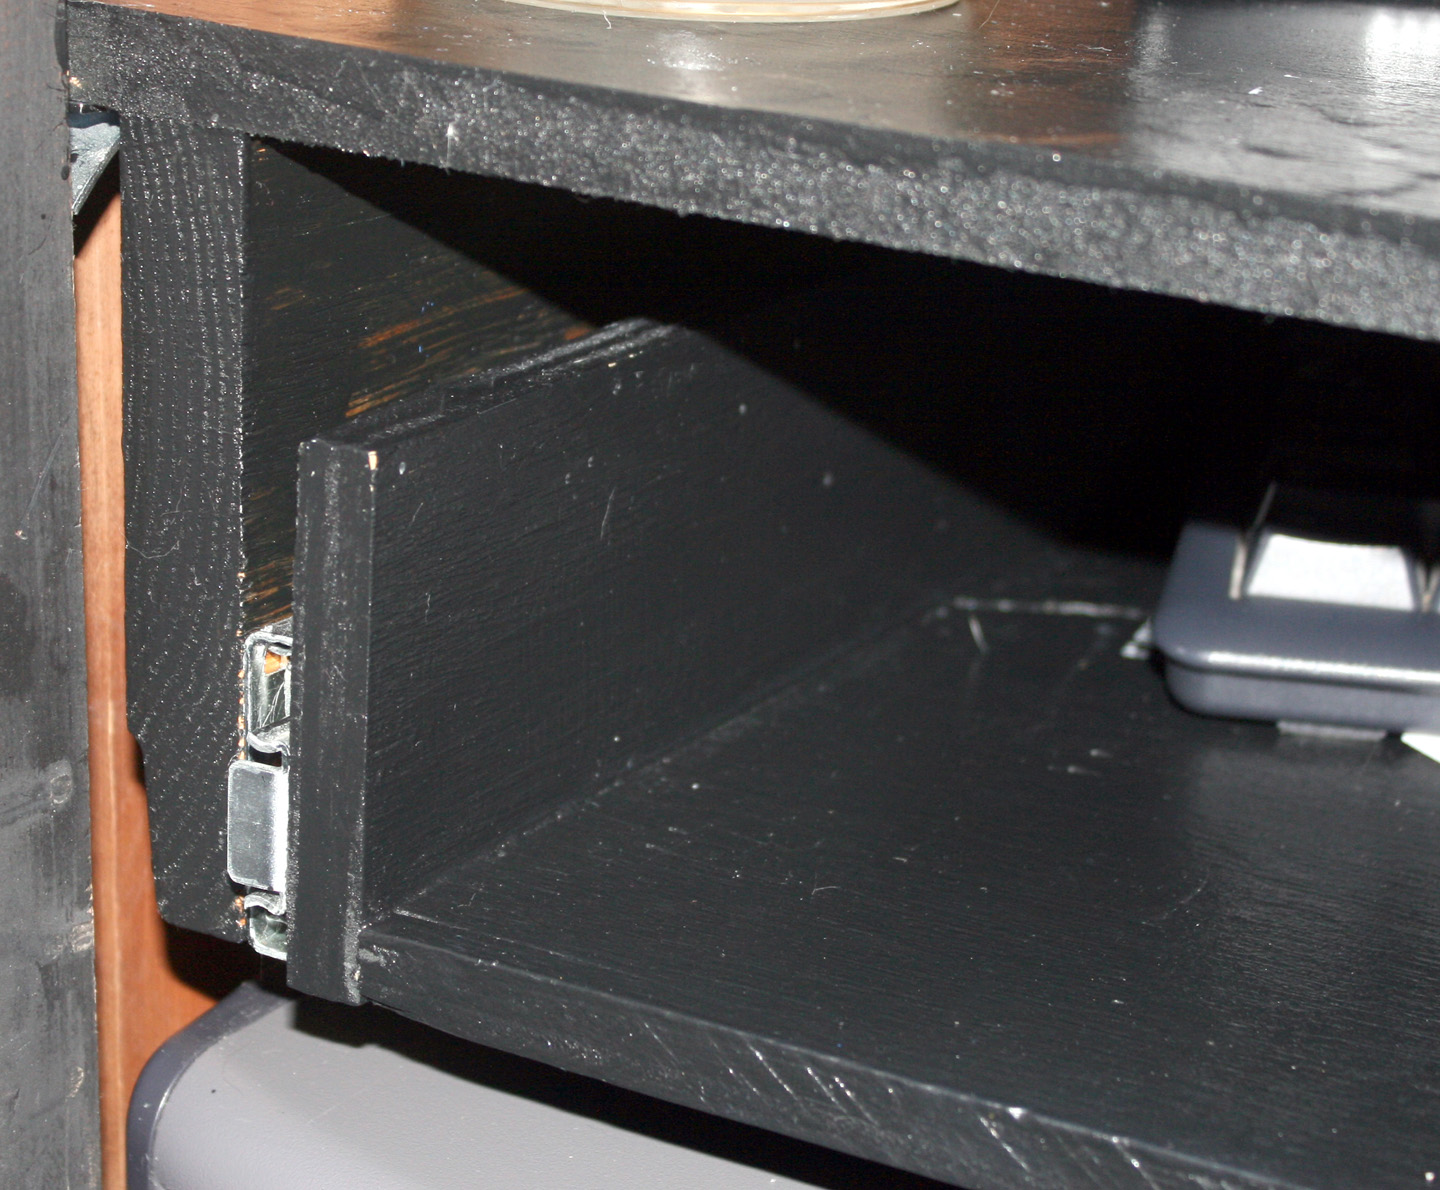
One consideration is the keyboard and this was the major change that we made this time. It is most ergonomic to be bale to type over your lap and not leaning forward so we needed a drawer of sorts for the keyboard to be able to pull out and be used.
The drawer slides had to be really strong so they could support the use and abuse and weight of your hands resting, and sometimes leaning on my elbows drooling over awesome projects on people’s blogs…
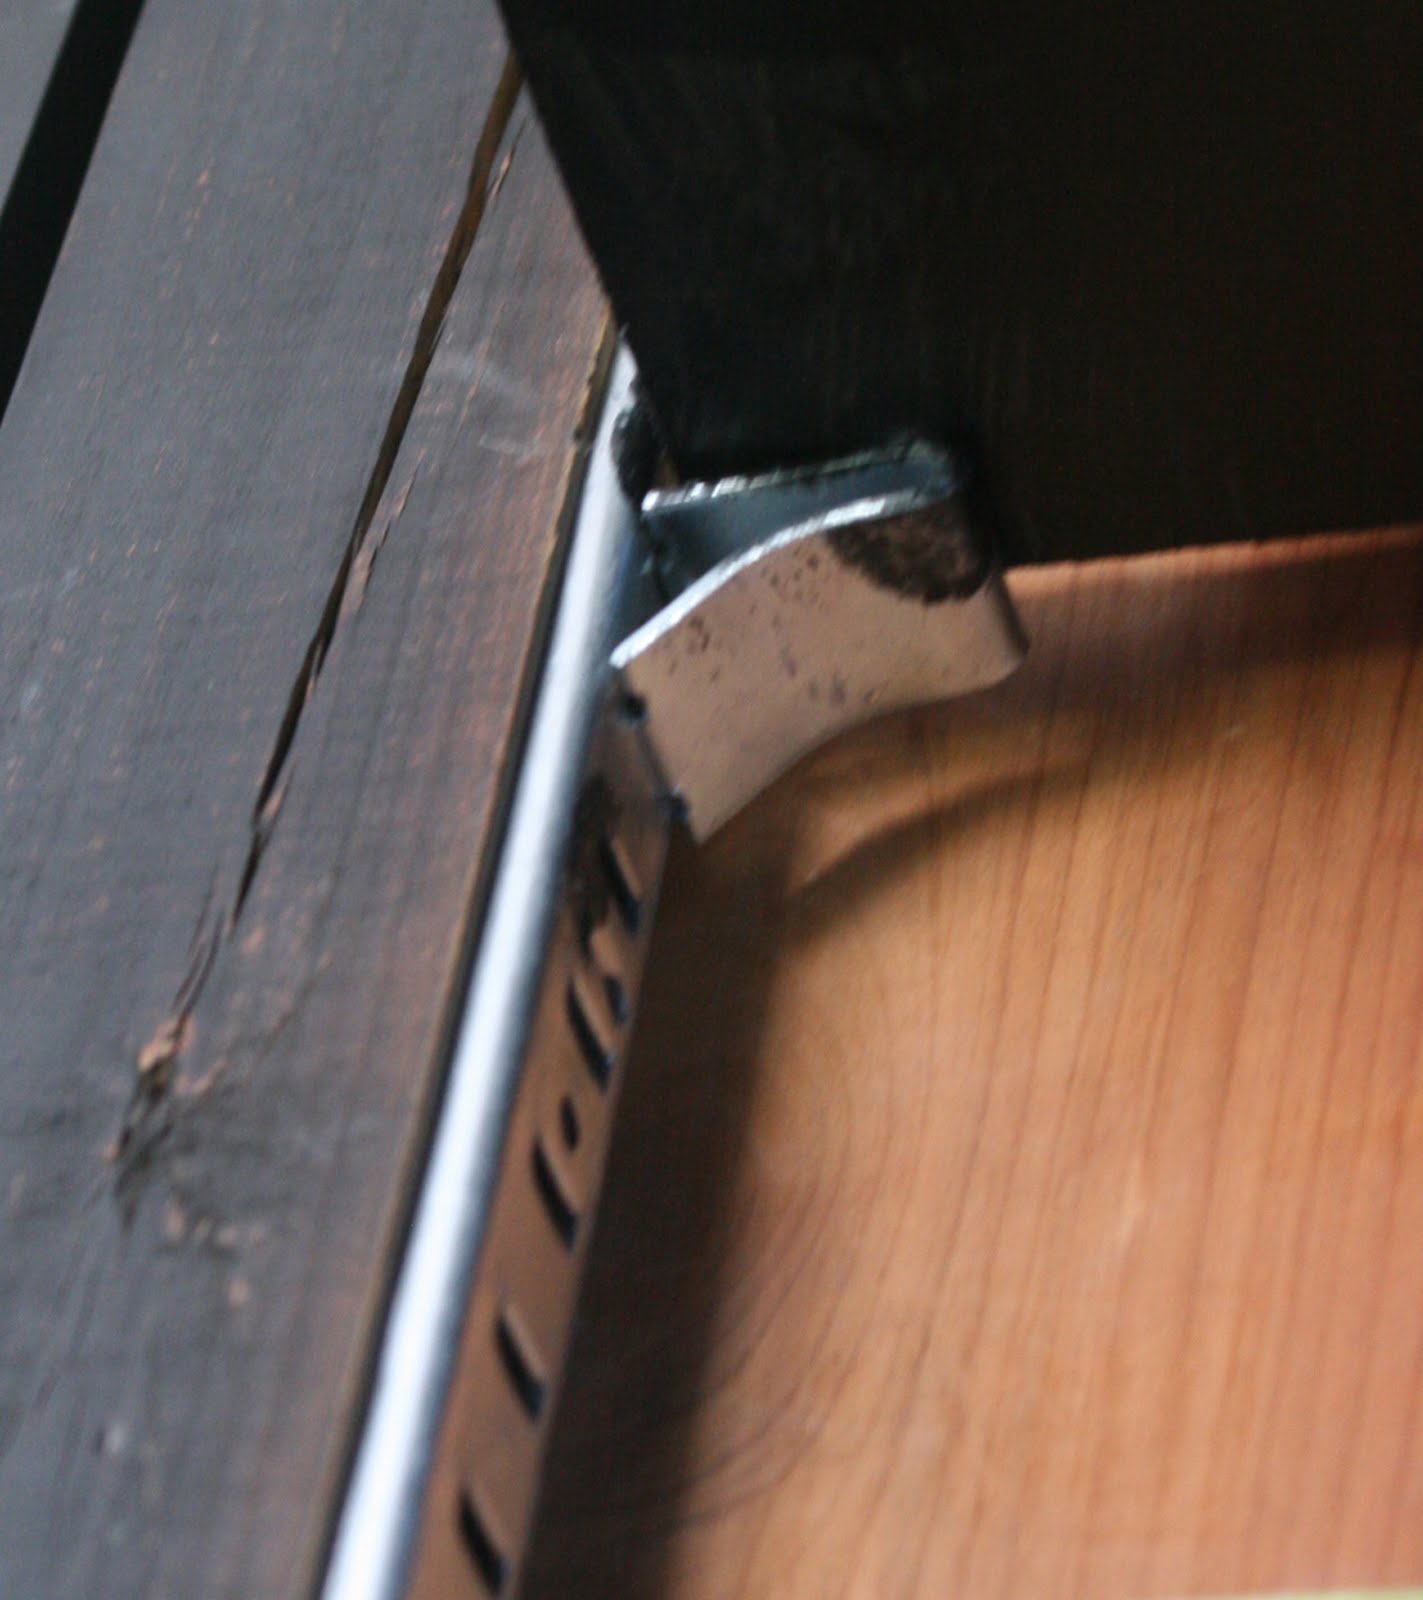
(this picture especially shows how much better it would have looked with the solid edging band,
and it also shows my crappy paint job…)
And this is how we basically built it:
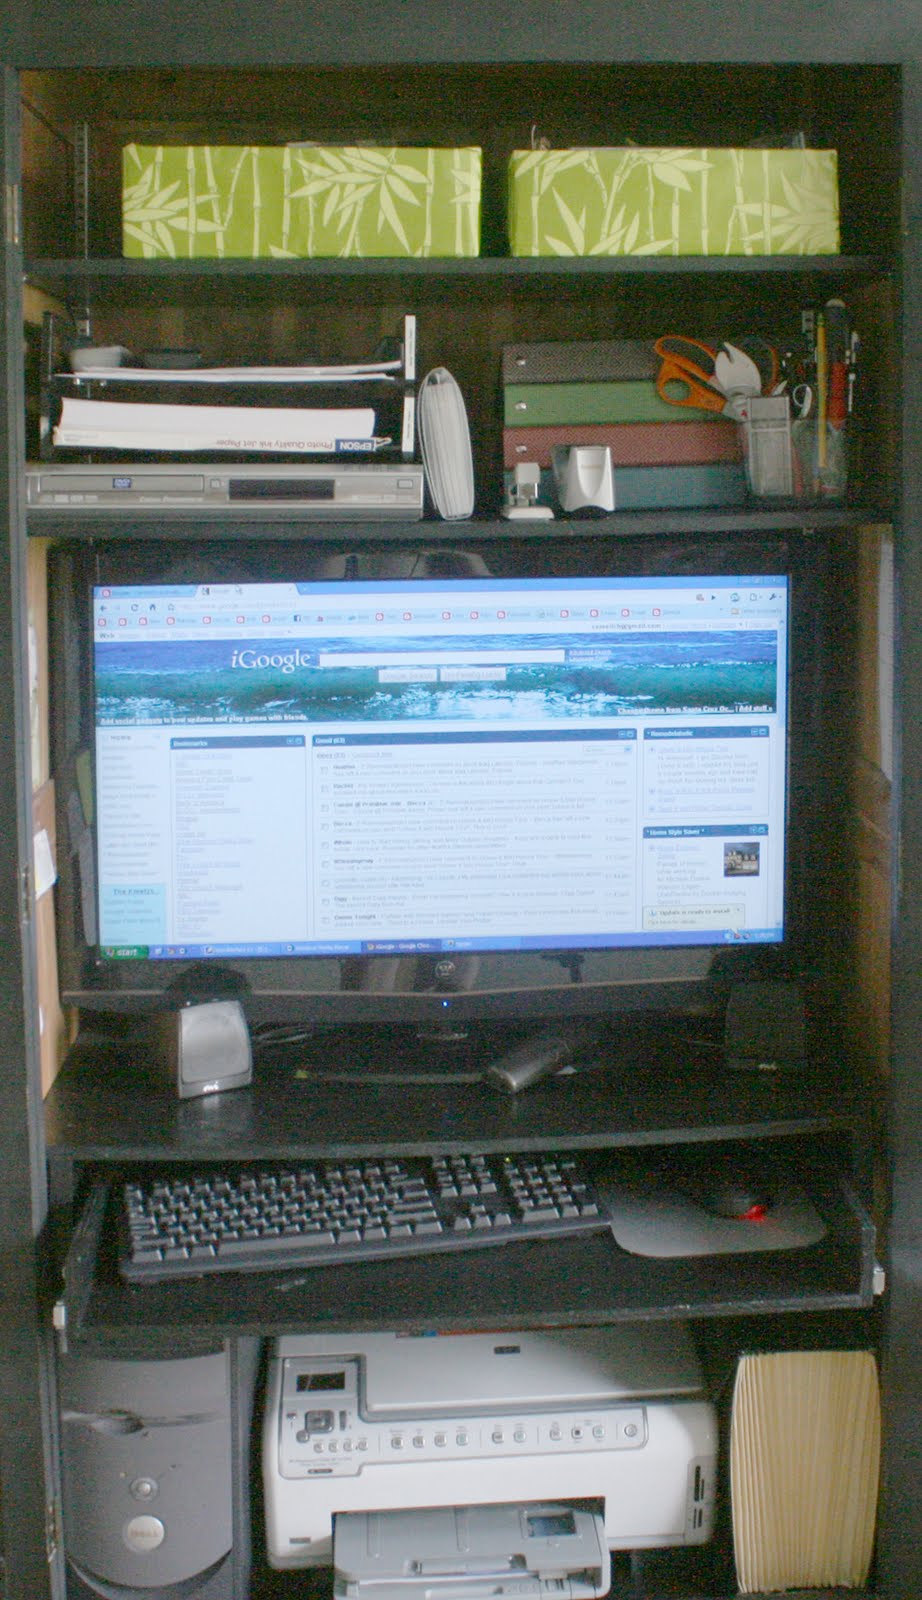
Okay so here it is in it’s semi messy glory. * I really want to buy some nice storage organizers, but don’t want to spend the money, so in the mean time, I wrapped two boxes with matching wrapping paper, but someday…
All in all it is a great space, and when it is a mess,
which is usual since I am working on this blog so much… I can just shut the doors and no one knows but me!
Next week I will be back to explain how you could possibly do this:
Cassity Kmetzsch started Remodelaholic after graduating from Utah State University with a degree in Interior Design. Remodelaholic is the place to share her love for knocking out walls, and building everything back up again to not only add function but beauty to her home. Together with her husband Justin, they have remodeled 6 homes and are working on a seventh. She is a mother of four amazing girls. Making a house a home is her favorite hobby.
This 18-page editable cleaning binder printable pack will help you establish a cleaning schedule based on the custom tasks you actually need for your home. From the spring cleaning checklist to everyday cleaning recipes, this printable set is great for kick-starting a cleaning routine and staying on task with annual and semi-annual tasks, too.


>I have almost the exact same wardrobe (the before pic)! I need to do some sort of shelving in the inside of it. Thanks for the tips!
>Thanks for helping us have a great Tuesday at Anything Related! ~Bridgette
>Very inspirational remake and blog post- thank you for sharing!
>I like the way your mind works – job well done
>Would love it if you would join me for my 2nd linky party tonight!!
https://lifeinmypjs.blogspot.com/2010/06/pajama-party-2.html
~Ela
>Your blog is so inspirational you've got yourself a follower 🙂
Joining in the blog hop fun from Welcome Wednesday!
Hope you will stop by and say HI
Mayya @ Sew Chic and Unique
>This project made me heart go pitter pat. Well done.
>New follower here from Welcome Wednesday. Very very cool.
Lots of yummy love,
Alex aka Ma, What's For Dinner?
http://www.mawhats4dinner.com
>What a great job and a fabulous tutorial.
I'm hosting a giveaway and I'd love it if you stopped by!
Laura @ along for the ride
>Ohh, nice! A desk that closes up to hide the clutter is an awesome idea. My husband is wishing mine had doors, too- I just know it.
Thank you for participating in the Creative Therapy Session at Life in the Pitts