White Kitchen Remodel Using Thrifted Cabinets
We Remodelaholics love kitchens! Even a small update can make a big difference, and our guest today made some BIG updates that completely transformed her old dark kitchen to this beautiful white kitchen remodel. She even saved some cash by using old cabinets from her in-laws kitchen renovation and making them work for her!
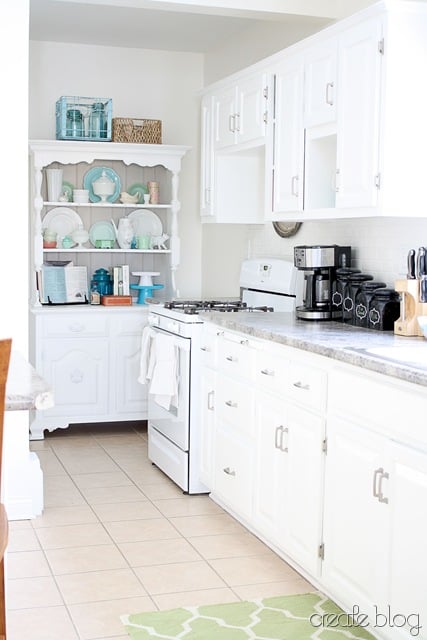

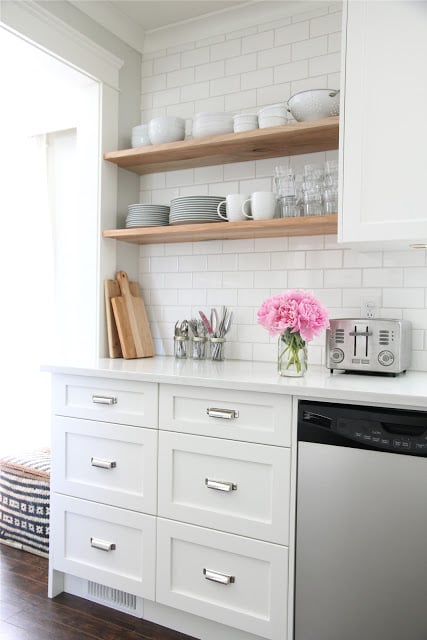
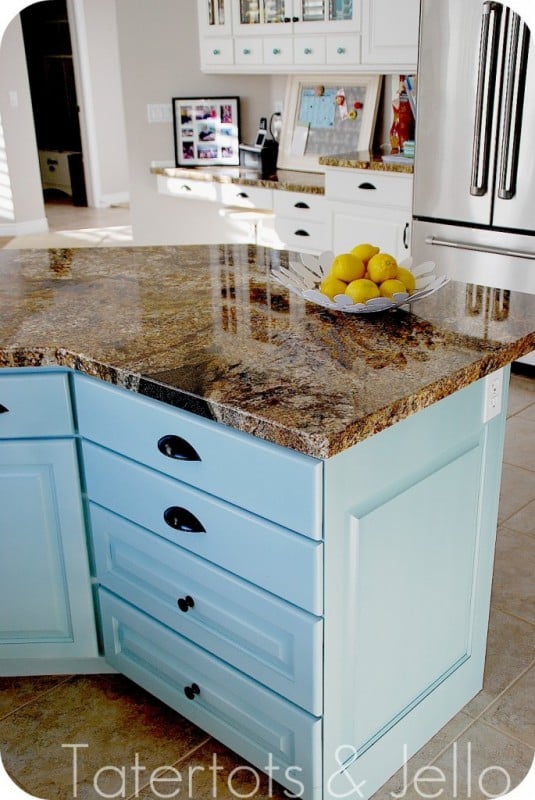
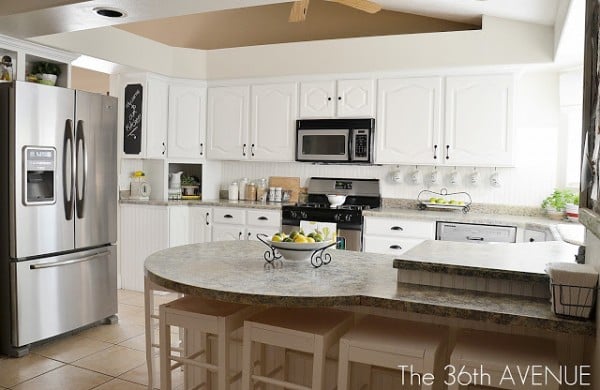
White kitchens are so beautiful and in-style right now. Here are a few beautiful bright white kitchen remodels I’ve loved recently:
And now I’ll leave you with Liz so she can show you all the hard work she and her husband did to completely make over their old dark kitchen into this beauty!
White Kitchen Remodel Using Thrifted Cabinets
Hello, I’m Elizabeth from the blog CREATE! I’m excited to be here today at Remodelaholic! I live in a 1927 cottage charmer with my husband and three little kids and if I’m not outside gardening, I’m inside doing a project. Like most who like to DIY, it seems we have a never-ending list of projects to tackle, some big and some little. I’m here today to share with you the biggest project that we tackled, and for anyone who has ever remodeled their kitchen…you know it is a big project!
Our kitchen looked like this when we started this remodel.


Yeah, it really needed some work. There was carpet on the floors, dark, dark paneling, and a dingy acoustic ceiling that I really didn’t want to cook under. It felt like a cave! Plus, it was nothing like the rest of the house’s amazing 1920s character. Neither of us had a whole lot of remodeling experience, so we actually did this project in two parts. First, we ripped up the carpet and installed ceramic tile with the help of my contractor dad and brother. At this point we were short on cash and we opted to make the paneling look like drywall and painted it white.

A little better, right? Fast forward two years (and a little more experience in remodeling), and we were finally ready to do a more thorough job. My in-laws were renovating their kitchen and they offered us their perfectly good (but dated) cabinets—for free. We took this as a sign that we should get rid of our plastic-drawered cheap cabinetry and upgrade to solid wood! Then my husband got the wild idea to just demolish the kitchen completely. I loved that idea, especially when it meant I got a whole new kitchen! Down came the paneling and cracked plaster behind it. What a mess!

With just the tiled floors intact, we basically had a clean slate to begin with. We had our electrician brother-in-law come and install new wiring for the recessed lighting and pendants, then we started putting in the drywall. Meanwhile, outside I sanded the new (to us!) cabinets, primed, and painted them white. It was quite the task! But well worth it when you know you are saving thousands by re-using rather than buying brand-new cabinetry. (We ended up freecycling our old cabinets too, so none of them had to go to the landfill.)
Since we weren’t changing the size of the kitchen and our kitchen is an odd shape, we had few options in how our cabinets were laid out. We decided to go with the original layout for the most part, with just one long wall of cabinets/countertop and a peninsula on the opposite wall. This made it very easy to re-use the cabinets that we got from my husband’s parents since we didn’t have to worry about corner cabinets, etc.

One thing to keep in mind when re-using cabinets is that the cabinets are obviously not custom ordered and built for your kitchen. Often cabinets are standard sizes (such as the smaller cabinets over the stove, sink cabinets, etc) which does make it easier, but we did have to measure and then re-measure and then come up with different configurations of the cabinets we had available to fit the space we had. It was certainly a learning process, and kind of like a puzzle.
We ended up hiring my carpenter brother to cut apart two cabinets so that they would fit in the space allotted and to install the cabinets on the wall. I was just too nervous that it would end up looking amateurish or be unstable. Though we DIYed pretty much the whole project, sometimes it’s good to call in a professional to help with things that are more difficult to do the right way.
I was able to find a dealer on Ebay who sold Amerock drawer pulls for significantly less than I could find them anywhere else. I fell in love with these and thankfully they were only 1.99 each!! I also got new hinges in brushed nickel since the old hinges were a gold color. It pays to shop around because with all the pulls and hinges you would need for an entire kitchen, it could easily cost you big money if you’re paying $5.00 a pull!

It was definitely an experience that challenged us with each step of the process. Toward the end of the project I had decided that I was going to do all the trim work myself. I didn’t know what I was doing…I had never even used a miter saw before. I looked at various tutorials on the internet, watched some YouTube clips of cutting trim angles, and went to work. It was frustrating for a while, but when I finished trimming out the windows (including the apron and returns—terms I had never heard of in connection with windows before!) I felt such a sense of accomplishment! I really did it! And they actually looked great! I went on to install the door trim, baseboards, and corner round, and then install crown molding on top of the upper cabinets for a more finished look. A little self-confidence went a long way!

And so, after months of work, we finally finished our “new” kitchen. It feels great to know that we basically built it with our own hands—a true labor of love! And it feels great to walk in there and have a beautiful space to cook and entertain in.


Time spent in remodeling: First time around, about 2 weeks. More extensive remodeling—5 mos!
Cost: Around $1750…I never did end up tallying all the receipts, but I think this is pretty close.
Sources
Pendant lighting: Savoy House Schoolhouse mini-pendant (unfortunately discontinued)—Joss and Main
Cabinet hardware: Amerock Mulholland in brushed satin nickel
Cabinet and trim paint: Benjamin Moore Latex Impervo in Simply White, semi-gloss finish (highly recommend!)
Wall paint: Olympic brand in Crumb Cookie
Bamboo blinds: Home Depot
Laminate countertop: Perlato Granite by Formica (bought at Menards)
Thanks for sharing with us, Liz! A completely amazing transformation — great job on your first time trim work, too!
If you love what Liz did with her kitchen, you need to see what she did with her bathroom! This girl has some serious renovating skills!
Lorene has been behind the scenes here at Remodelaholic for more than a decade! She believes that planning projects and actually completing them are two different hobbies, but that doesn't stop her from planning at least a dozen projects at any given time. She spends her free time creating memories with her husband and 5 kids, traveling as far as she can afford, and partaking of books in any form available.


WOWZA what a stunning makeover!!!
Thanks! So sweet of you to say!
Thanks! So sweet of you to say so!
Wow!! Looks amazing! You guys did a great job!
Amazing transformation…looks so nice…I love white kitchens..you guys did an excellent job!!
Looks GREAT! Any tips for painting cabinets? What kind of paint, etc…