Built-in Bookcases; Living Room Update 5
Sorry about missing the living room post last week. I am getting the hang of this two child thing… sorta, tired yes, but at least for the next week or two I have an infant that sleeps all day so it isn’t too much harder. YET…, thank heaven for easing into the transition.
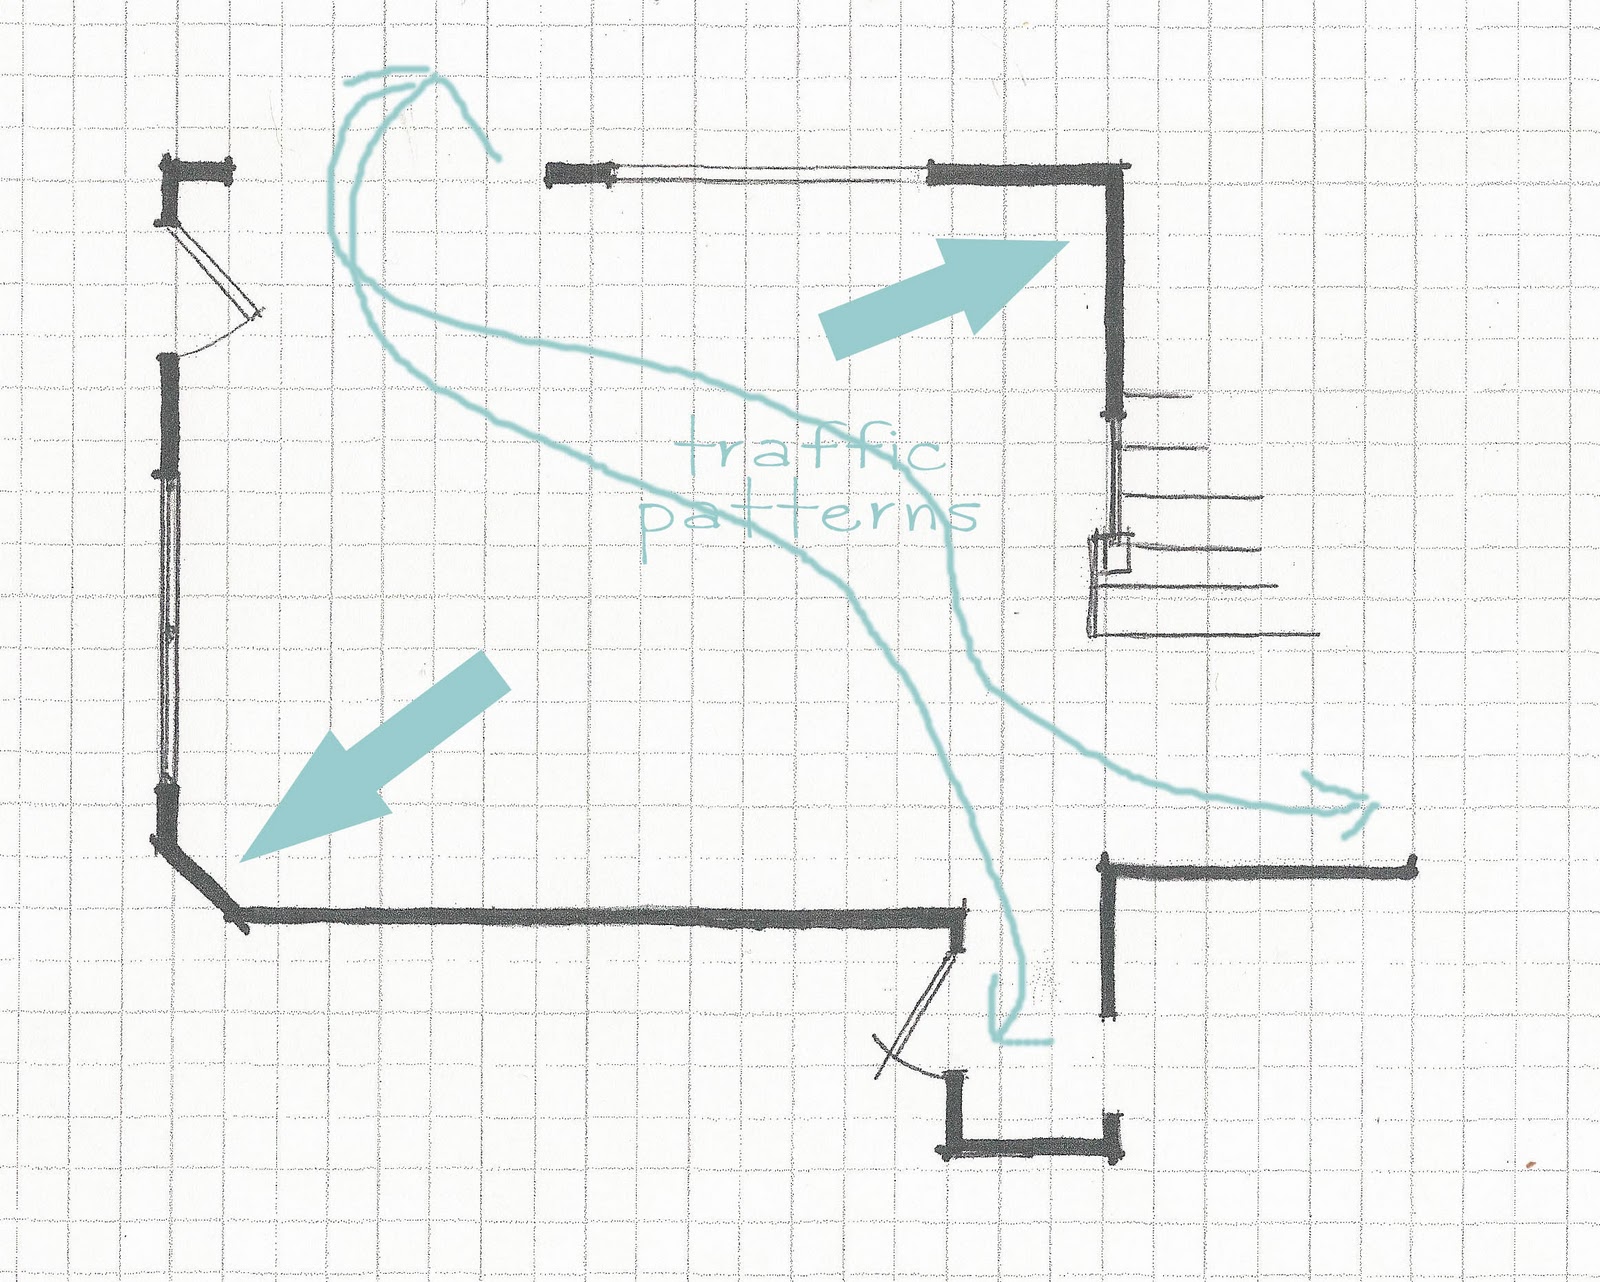
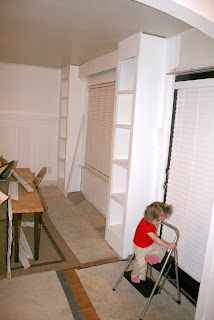
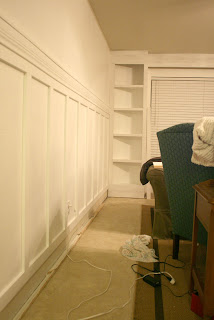
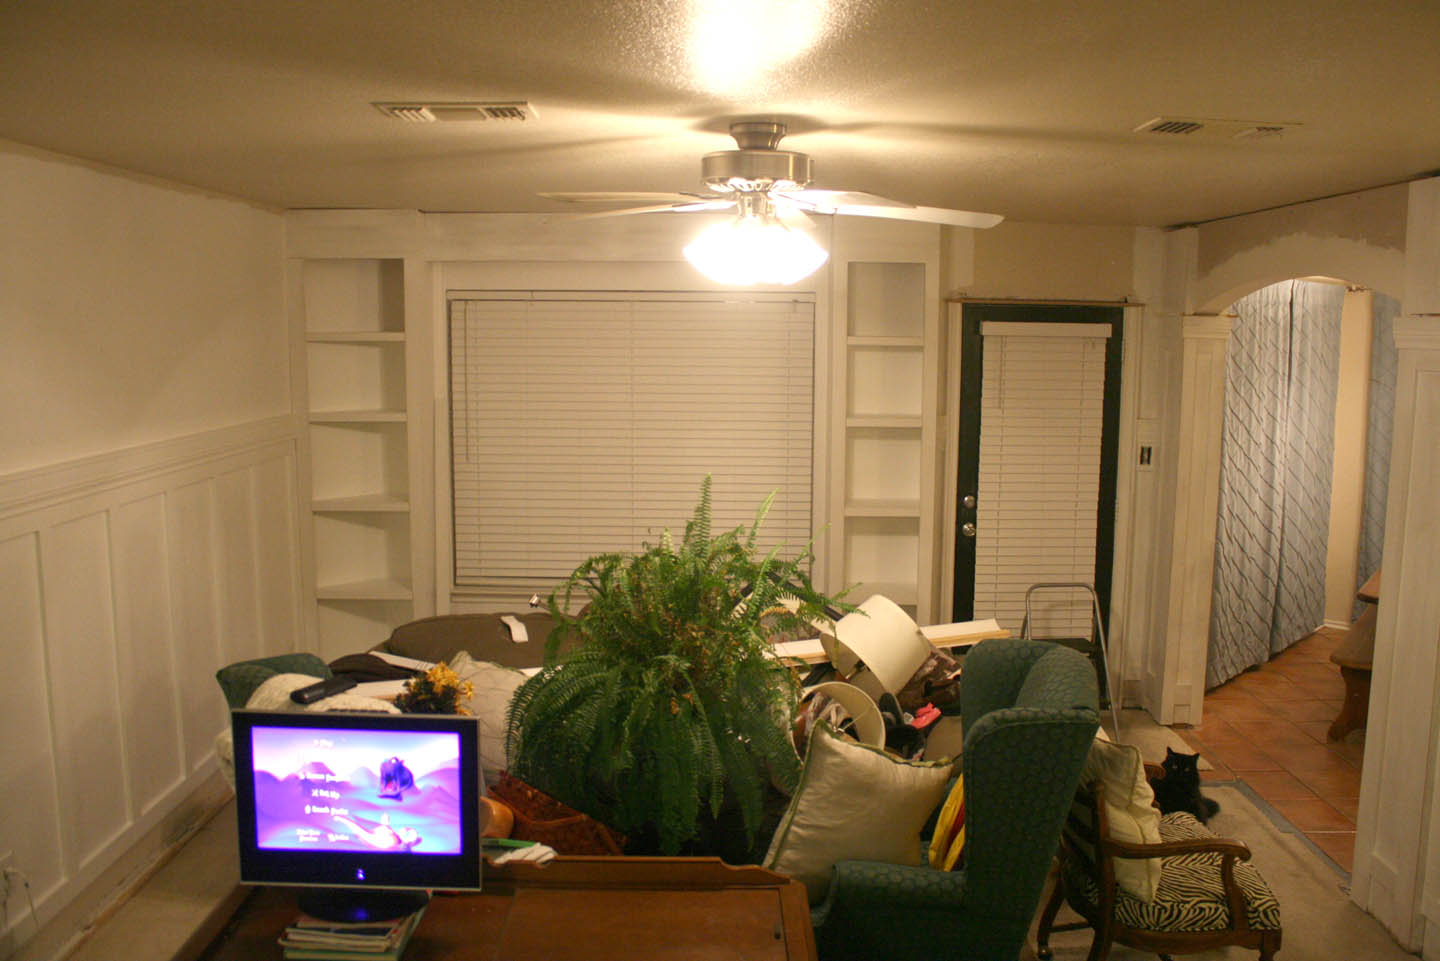
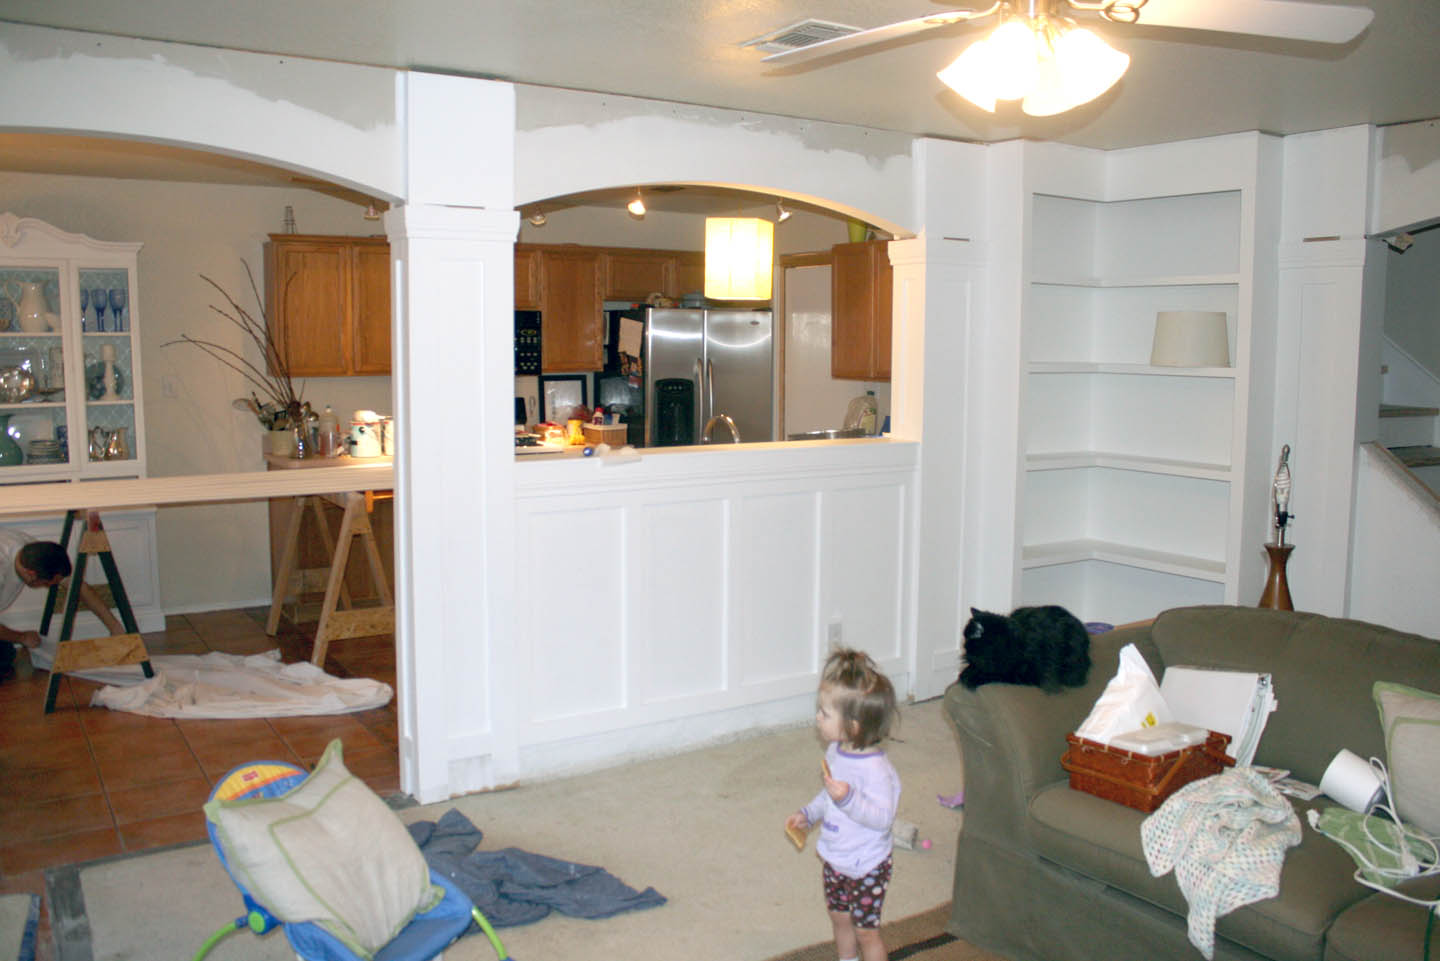
Anyway, so I left you hanging a bit about my sudden design change and request for some built-in bookcase,s in our living room. I told you how the space is a walk through to get to the kitchen and because of this traffic pattern, it naturally separates the room into two areas. Which means, we had to figure out a way to fix this a bit.
I should explain, this space is not our “family” room. Yes, we have a box of toys and plenty of board books to read, but this space is not our room to really entertain or hang out, that space is upstairs. We don’t actually have a T.V. in this room at all either (although I am considering a small portable version for desperate moments)… we don’t watch T.V. on a regular basis, I just don’t have time (exception to rule: Biggest Loser, but sometimes we catch up on this one online too!). If I need a distraction (think making dinner) for the little meisje, I bring in the portable player so that I can get things done while Etta stays busy dancing to the Barbie movies… This means that we are setting the room up for conversation, not around a TV screen.
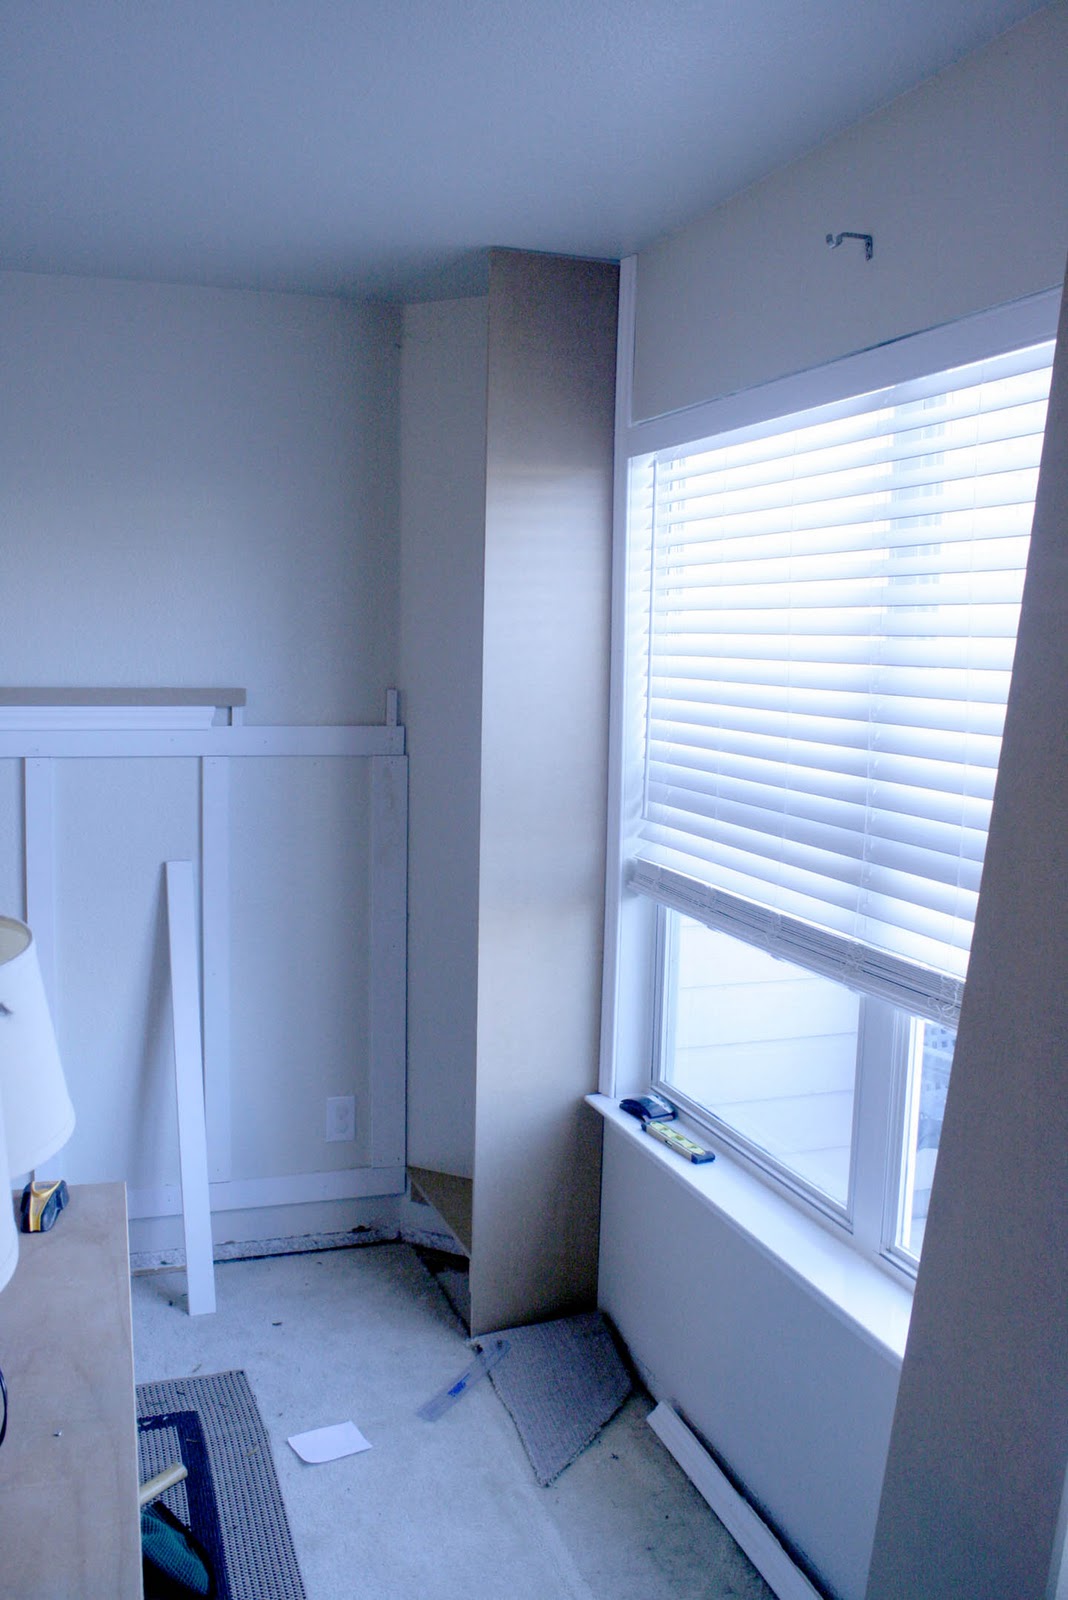
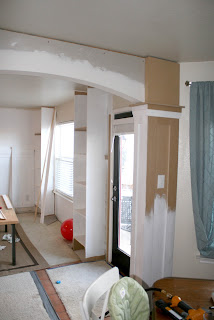
On with the plans then, we have two awkward corners in our living room, as shown below with the large arrows, the long lines are the basic traffic patterns for the space.


 |
 |
 |
 |
 |
 |
 |
 |
 |
 |
 |
 |
 |
 |
 |
 |
 |
 |
 |
 |
 |
|
 |
 |
 |
 |
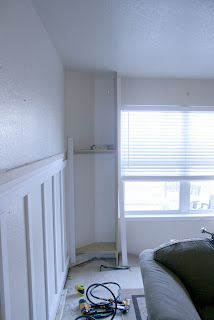
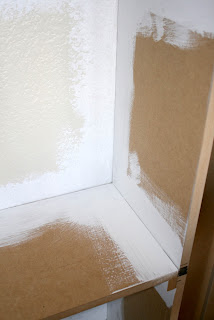
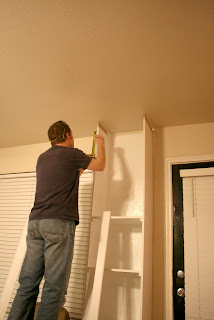
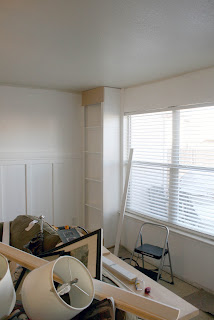
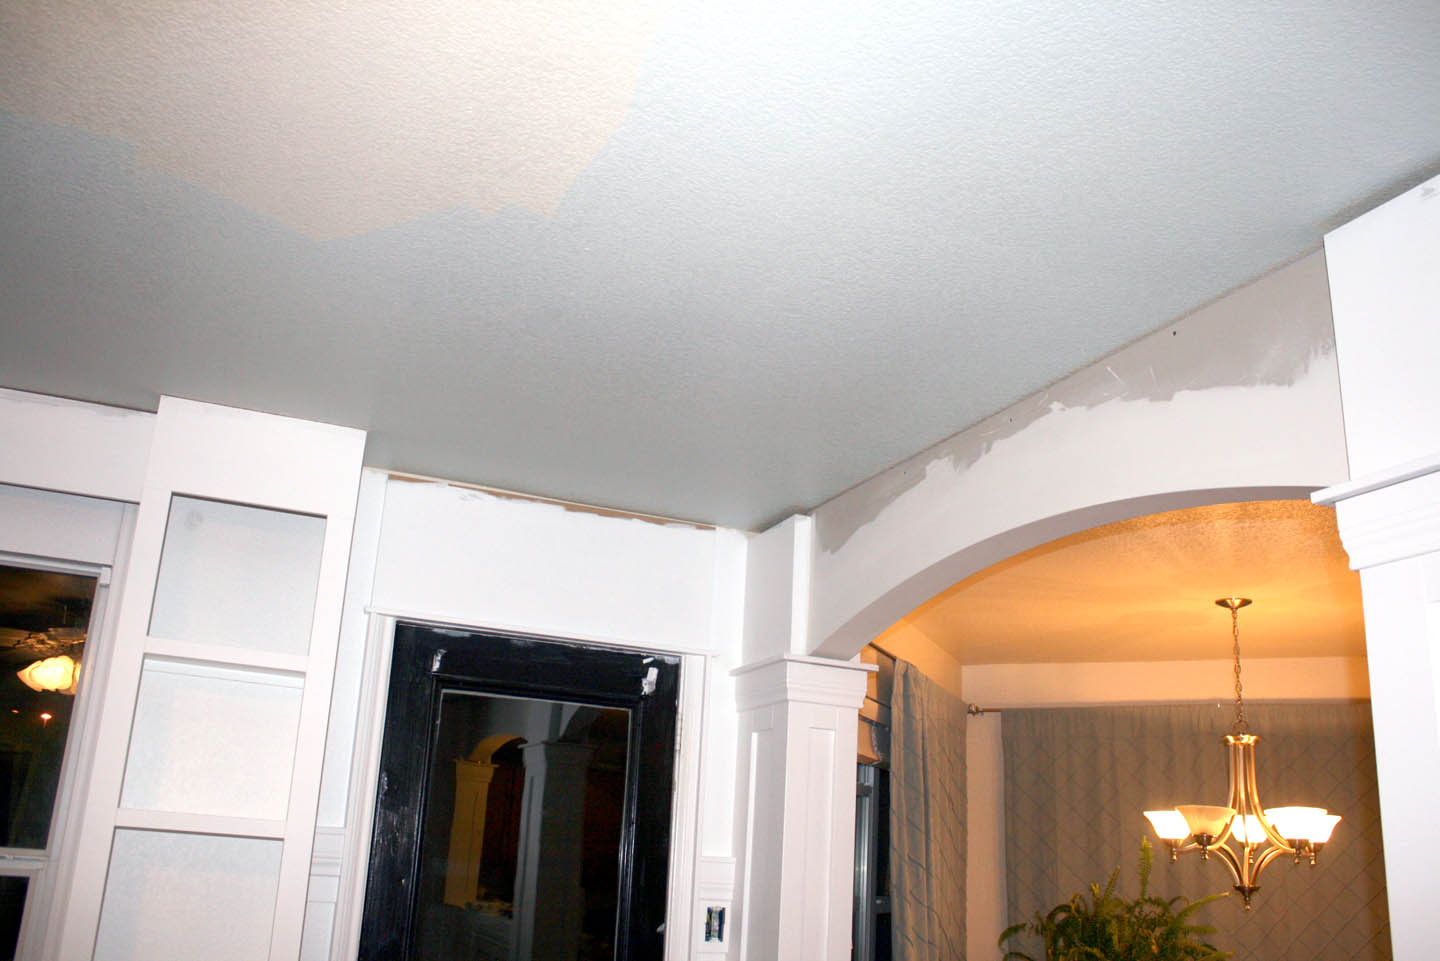
Now we needed to add some crown molding. We painted it all with several cots BEFORE cutting and nailing. I also painted the edges of the ceiling where the crown would be installed. Then we had very little touch up painting to do and no hard edges to paint… This is good advice (even if I do say so myself), we have done it in every house we’ve owned, it saves a lot of sore muscles and kinked necks I promise!
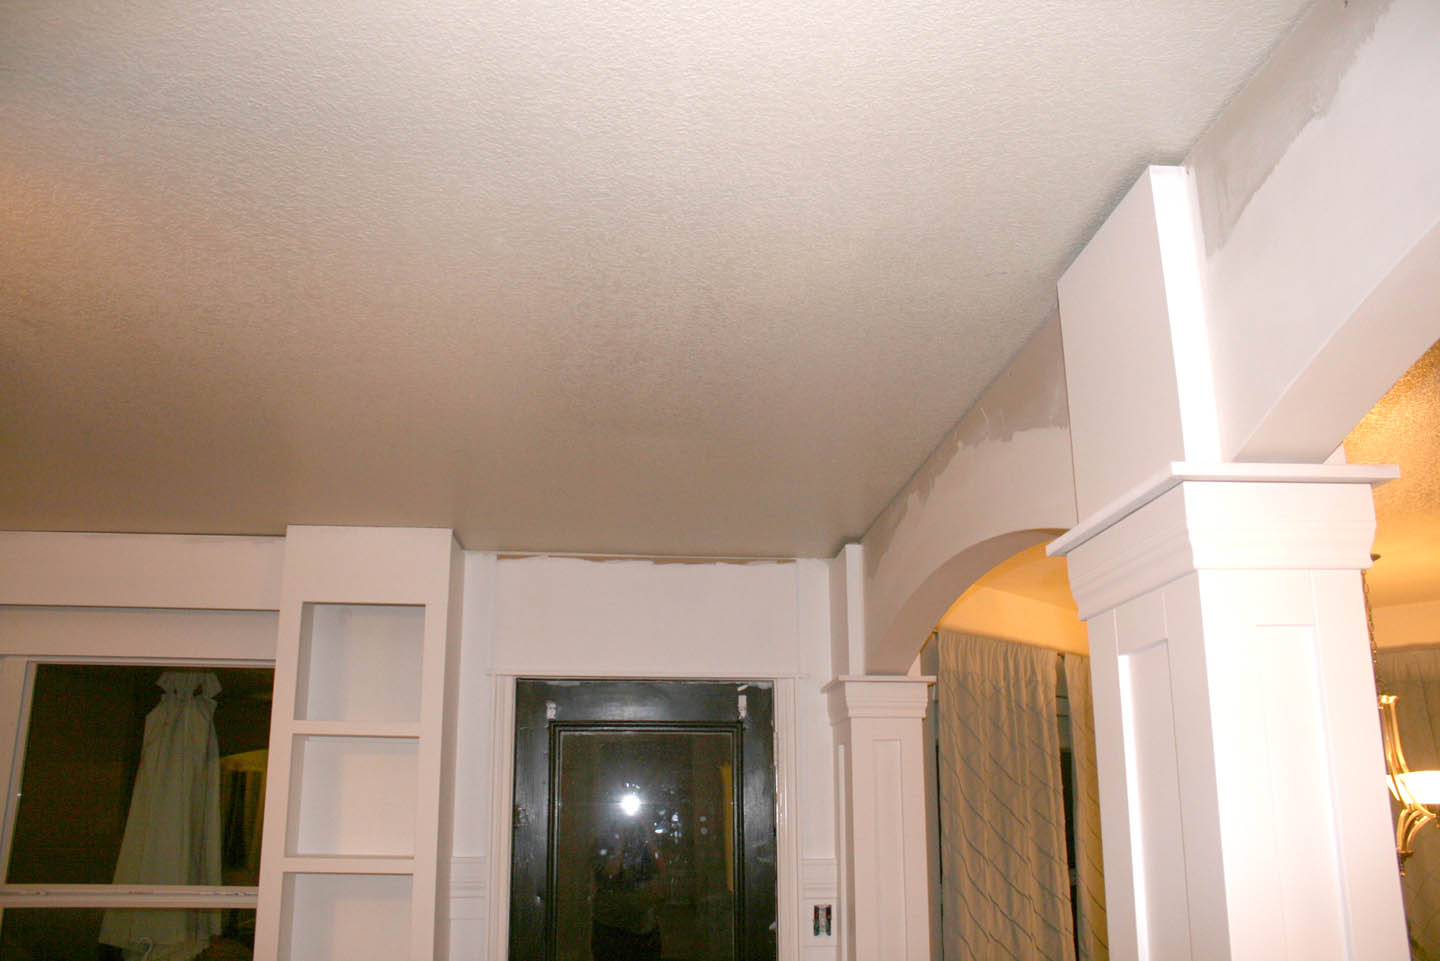
You can see the ceiling color ends in the middle of the room. (this is the same color we used in our Asheville house ceilings and I LOVE it I will have to find the name….sorry)


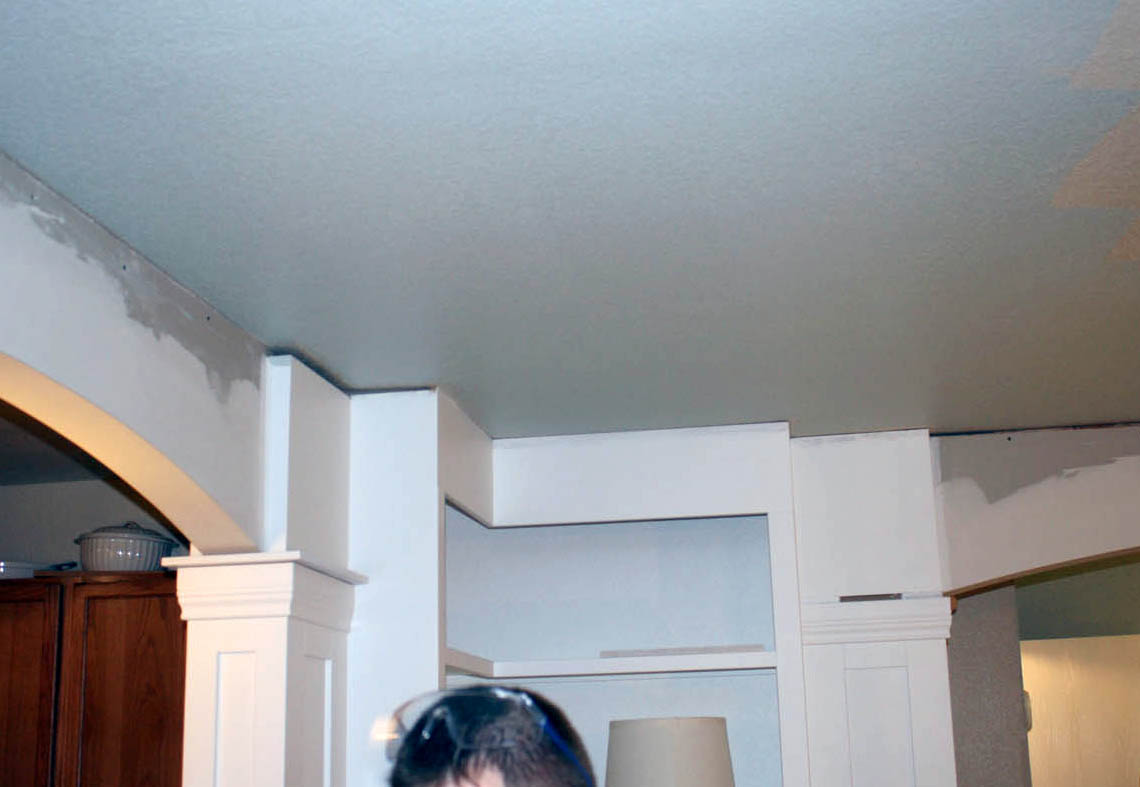


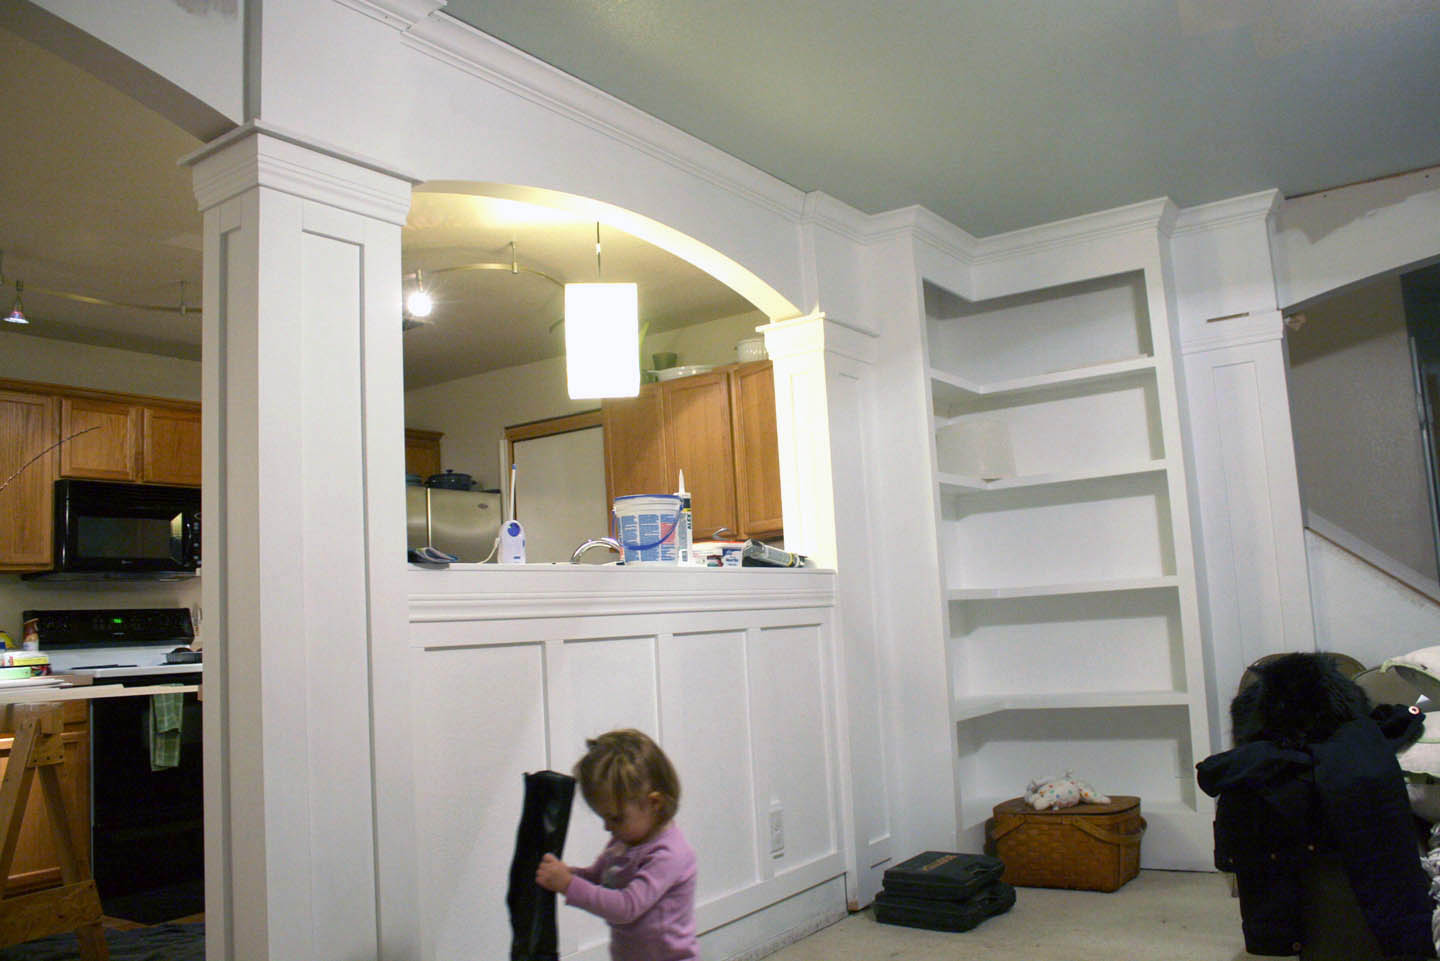

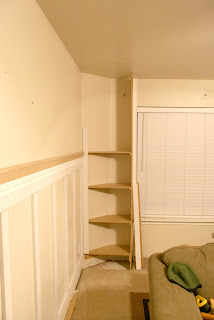
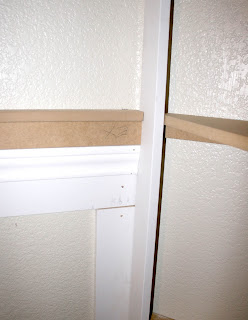
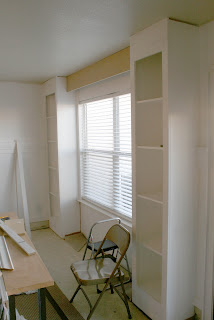
Partially done moldings… there is a whole ‘nother layer of moldings we added below these to make the crown appear larger like we did in our first house 9 years ago. But it is almost 11:00 an I NEED to sleep.

Cassity Kmetzsch started Remodelaholic after graduating from Utah State University with a degree in Interior Design. Remodelaholic is the place to share her love for knocking out walls, and building everything back up again to not only add function but beauty to her home. Together with her husband Justin, they have remodeled 6 homes and are working on a seventh. She is a mother of four amazing girls. Making a house a home is her favorite hobby.


>I only have one child and had a hard time getting stuff done the first 18 months. She wouldn't nap and she walked at 9-10 mo, but I got to sleep through the night. How old is your little girl? she's so cute!!!
I think everything looks great. I've always wanted a window seat with two shelves on the sides. You are so lucky that you and your husband know how to do this type of work and are able to do it.
How do you created your photo/drawing pictures? They are sooo cool!
Katharine
>Absolutely love it! What a difference it all makes; I'm so impressed. And I'd definitely do the window seat, I always wanted one as a kid. If you gave it a hinged top you could use it for toy storage (or grown-up storage).
>They look Awesome!!!
>Really?! I am amazed at all you're getting done with having a toddler and now a newborn.Its looking great! Can't wait to see the final project.
>I Like Saffron Marigold on Facebook.
>I Follow!!!
>Gorgeous!
>love, love, love, L.O.V.E this!
Your house is going to look like a million bucks when it's all done!
>Wow!!! You have inspired me, going to show my hubby and see if I can "inspire" him too!!
>Fantastic craftsmanship!!! It's great that you went all the way to the ceiling. It makes your room super high end. I still vote for the window seat, however! 😉
>A question I forgot to ask…. How much have you spent approx. for the mouldings and such? just so I have an idea on the costs involved…
>Hey Fawn, I don't have exact totals… I will have to work that out, but all told the project for moldings and such was not more that 400-500 dollars.
One way we saved money was cutting 4 x 8 boards down instead of buying a lot of precut mdf moldings… I will try to get this all figured out and put it in one of the final posts!
(tip** don't buy your moldings from a Home Depot or Lowes type store. Go TO A LUMBER YARD! They may look at you very strange and think you know nothing when you drive up in a minivan 8 months pregnant with an 18 month in tow, but it is worth the savings!)
>I love everything you guys are doing! Wonderful! And so nice to see some hand drawn elevations — love, love that!
>Wow- this is amazinbg & beautiful!
>This looks so incredibly high end and definitely gives the room that "Wow" factor! Impressive DIY. How long did this project take to complete?
This looks fabulous, I am considering doing (not myself) a similar project for a corner library, but I do want to load it up with books. Wouldn’t you need to add supports for the “L” shelves to hold up with out sagging in that case and how would you do it without ruining the look?
Gillian,
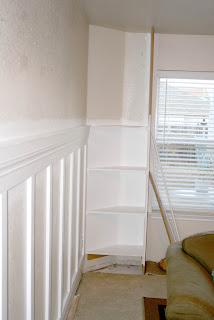
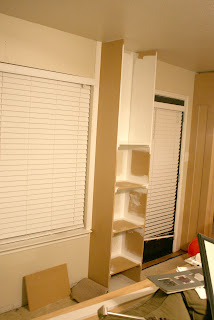
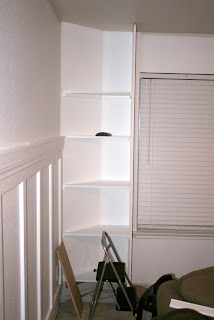
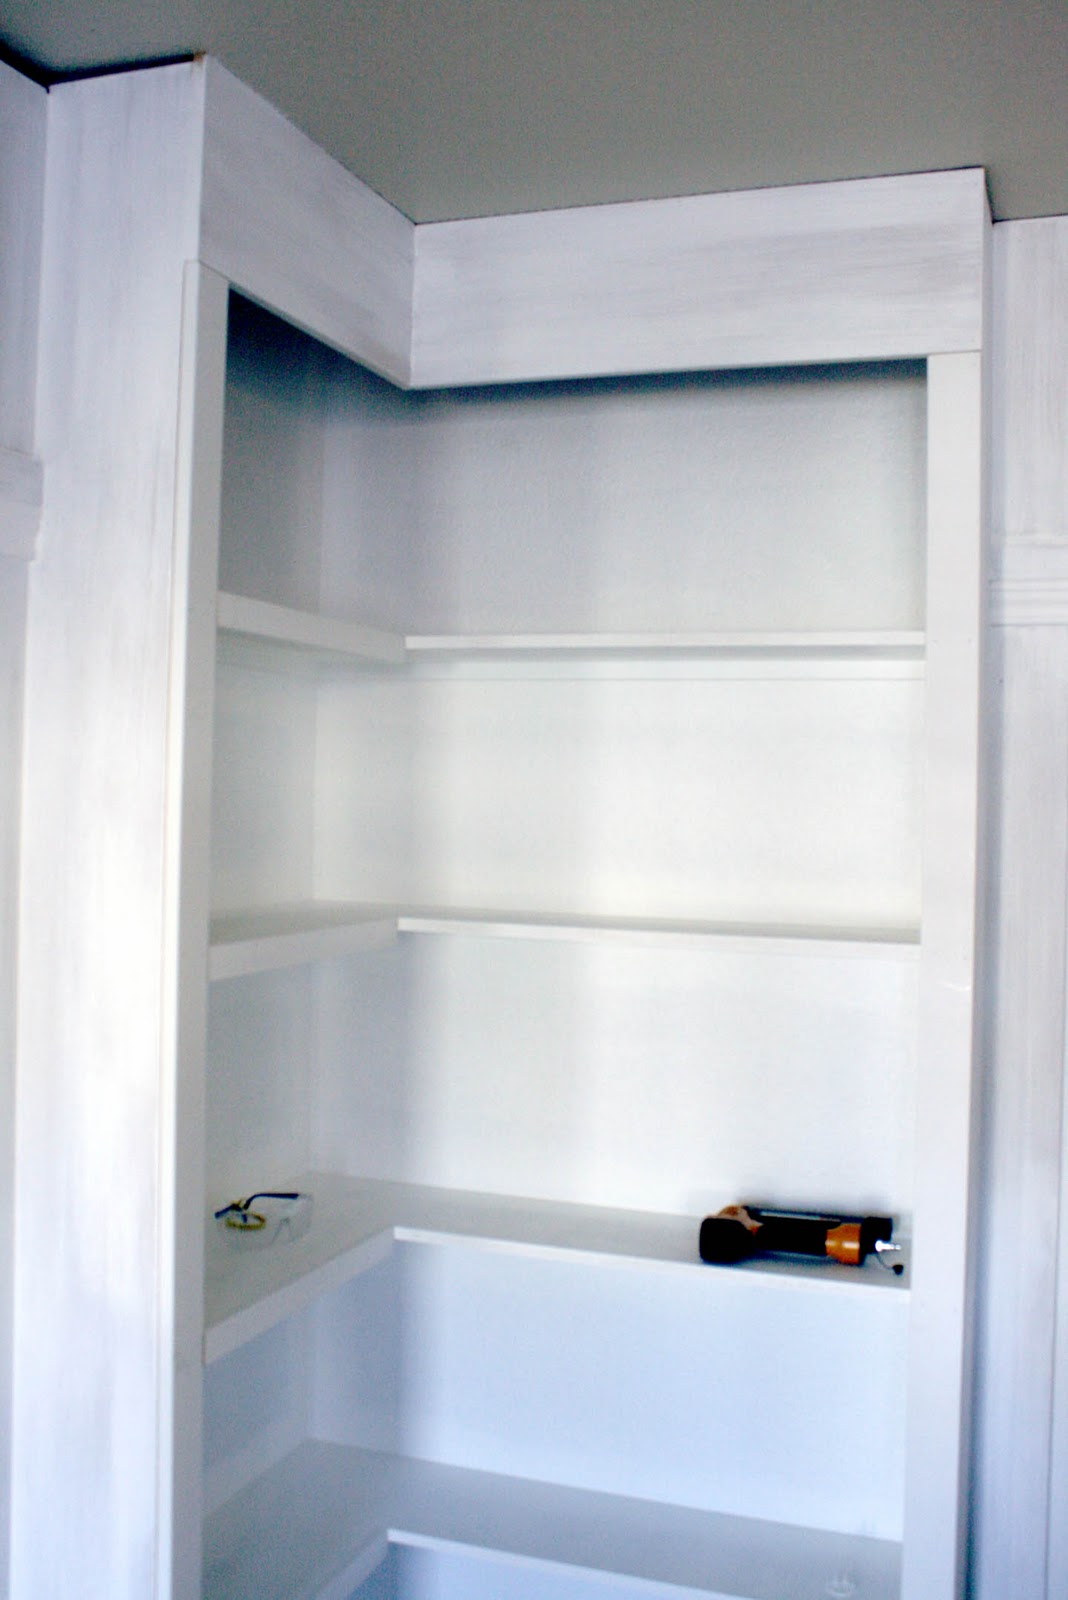
The shelves are not adjustable and the back is all supported and nailed into a 1 x 2. The front of the shelf also has a 1 x 2 attached this adds additional strength. We had our LOADED with books for 2 years without a single problem.
But the worry is that if the width is too much on either side you wouldn’t have the support you need. You need to consider that. It you are still concerned you could do some “L” brackets that you hide with a backing board, or just paint the color of the back wall… you can get a metal L bracket at your local home store.
I’m dying to know how you build your corner bookcase! It’s so cute! How do make sure it was stable without extra brakets?
I will talk to my husband about writing a post for how we did it! Give us a little bit of time!
How did you support the corner shelves? They look like they’re floating and they’re beautiful. I’d be worried about sagging. Any tips?
Geoffrey, I nailed shelf supports to the wall under the shelves to support them. They actually hold up really well loaded with books. I am in the process of making plans of how I built them coming soon. Great comment though.
OMG I love this!!! We have a totally dead corner space in our living room and I so want to do this!!! Can I get more info from you (if you will let me pick your brain), like what materials to use, etc.?
Here is recent posts on the details: builtin-corner-bookshelves/ I am glad you love it!
Thanks for the insight on built-ins! This site is awesome–can’t wait to go back through and read all your posts!