How to Build a Rustic Towel Ladder
There’s just something about a beautiful bathroom that makes life a little bit better. It’s such a first world problem, but going from just functional to both functional and beautiful is so worth it! And our guest today has a beautiful bathroom to show you, plus the tutorial for how to build that rustic towel ladder:

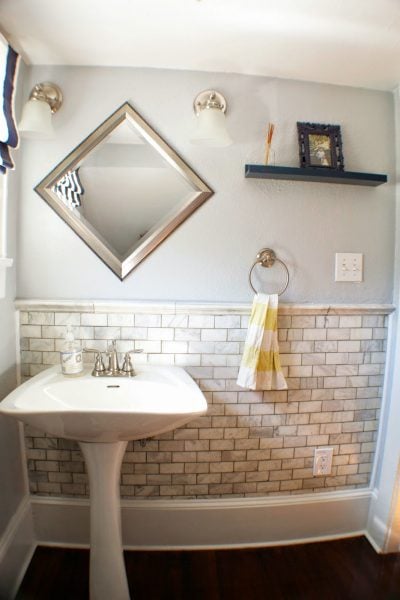
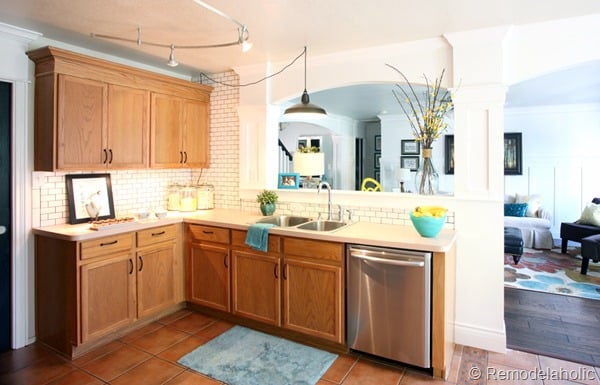
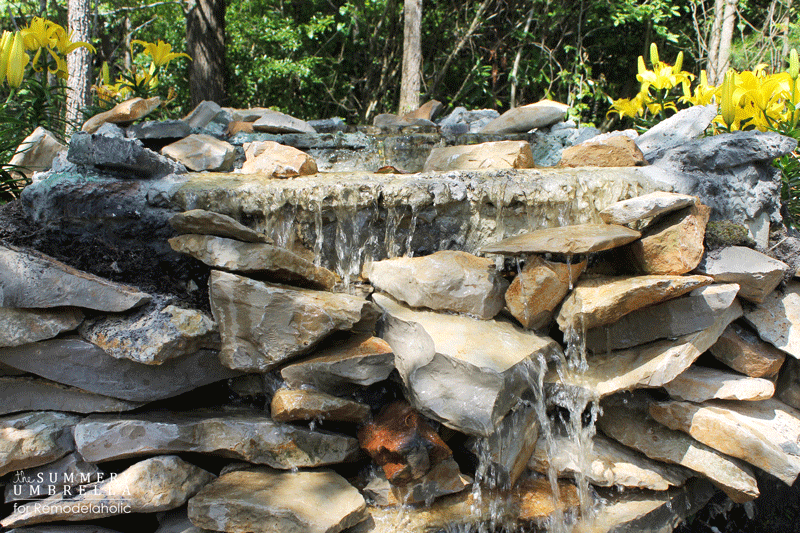
Amanda has all the details below, so get inspired by some of these other beautiful bathrooms we’ve featured as you scroll: (click on each image to see more)


And here’s Amanda with the how-to on that great rustic towel ladder!

How to Make a Rustic Towel Ladder
by Amanda from 12 Oaks
Hi, Amanda here of 12 Oaks blog, a place where my husband Ben and I have been chronicling the renovation of our home and little piece of land outside of Chicago for the past almost four years. We have renovated a kitchen, four bathrooms, mudroom and much more. It has really come a long way which you can see at our house tour.
Today I am sharing one of my favorite DIY projects ever– a ladder to hold towels in a bathroom. It is very cheap (less than $20), pretty simple, and makes a big statement while also providing function.

It works great for not only towels in a bathroom, but you can hang blankets in a living room or bedroom as well.
Here is a step-by-step tutorial, including how to give it the weathered, rustic look, so you can make one of your very own:
Step 1. Gather all your materials.

You will need to gather/purchase the following materials that should be around $20 or less. We had everything but the lumber on hand so ours was $16.
- 3- 4ft 1″ diameter pine dowel rods (ours were less than $4/each from Home Depot)
- 2- 8 ft 2″x3″ pine studs (ours were less than $2/each)
- Wood glue
- Sand paper
To make the weathering solution you’ll need:
- Very fine steel wool
- Vinegar
- Black tea
- Empty glass jar & lid
Step 2. Make weathering solution 24 hours ahead of time.
Take a handful of very fine steel wool and mix with vinegar in a glass jar. The steel wool will start to dissolve but won’t dissolve completely. Wait at least 24 hours before applying to your wood.
Step 3. Make your cuts.

Cut the dowel rods into (5) 16″ long rungs and cut down the 2×3’s to 6 feet long.
Step 4. Sand your wood.
We used an electric hand sander but you could also do it by hand.
Step 5. Mark sides for holes.
We started our first hole 2.5″ from the bottom and then spaced them 13.5″ apart from the centers. Make sure your marks align perfectly on both sides.

Step 6. Drill 1″ wide holes that are 1/2″ deep.
We placed a piece of tape 1/2″ up the drill bit to know how deep to go. Also go over holes with a light sand to smooth out rough edges.
Step 7. Sand down the edges of your rungs to ensure they will fit into the holes.
Step 8. Fill one side of holes with wood glue and place rungs inside.
Step 9. Put glue on other side of rungs and place side onto rungs.
Step 10. Attach clamps for at least 2 hours to dry.
Wipe up all excess glue.

Step 11. Brew some very strong tea and brush it on your ladder. Apparently the tea releases tannins in the wood which allows it to oxidize from the vinegar/steel wool combination. We coated ours with tea twice, letting it dry in between coats and before the next step.
Step 12. Your final step! Brush on your vinegar/steel wool solution. It will start to turn the wood darker as soon as you brush it on and within an hour or so will be completely weathered.

I couldn’t believe how well the weathering process worked and without buying expensive stains or paints. Just household items.
We love the way this ladder adds to the farmhouse style of our bathroom. See more photos of the bathroom makeover here.

Amanda, thanks so much for being our guest! I have loved your bathroom since I first set eyes on it!
Remodelaholics — if you haven’t already checked out and followed Amanda over at 12 Oaks Blog, you are missing out on some amazing things! Go visit and don’t miss the amazing reclaimed barn wood beams and Amanda’s beautiful new mudroom!

Lorene has been behind the scenes here at Remodelaholic for more than a decade! She believes that planning projects and actually completing them are two different hobbies, but that doesn't stop her from planning at least a dozen projects at any given time. She spends her free time creating memories with her husband and 5 kids, traveling as far as she can afford, and partaking of books in any form available.


Thank you so much for sharing our bathroom remodel and tutorial!
I LOVE your bathroom, Amanda! Thanks so much for sharing!
Beautiful would like to know the paint color
Benjamin Moore Palladian Blue
I love the look of the ladder but have never used one. Is it heavy enough to stay in olace when somebody takes a towel? Do you have to attach it to the wall?
Pretty safe. The project is about 30 pounds. I knOw because we just build one
Looks great and so simple! Your bathroom is goregous.
Oh my goodness! I didn’t know it was this easy! I love it. I’ll have to recreate this now!